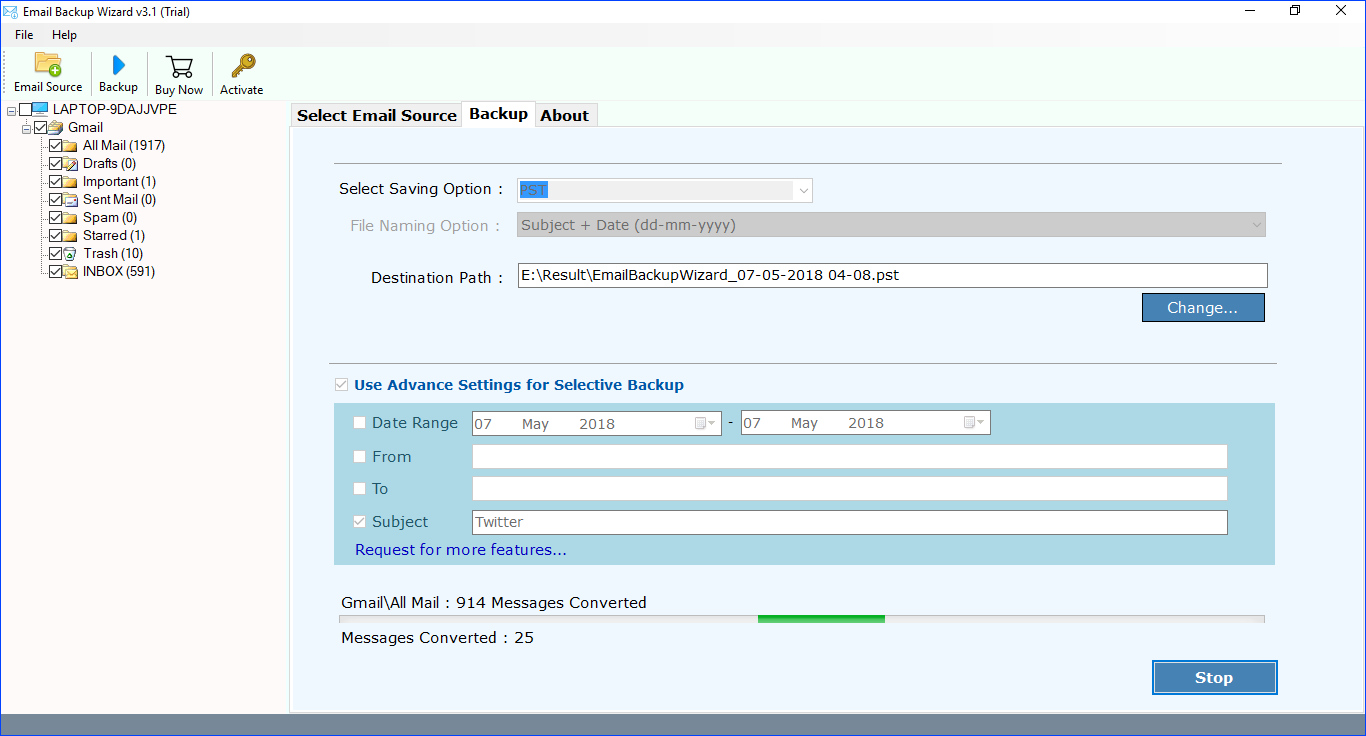
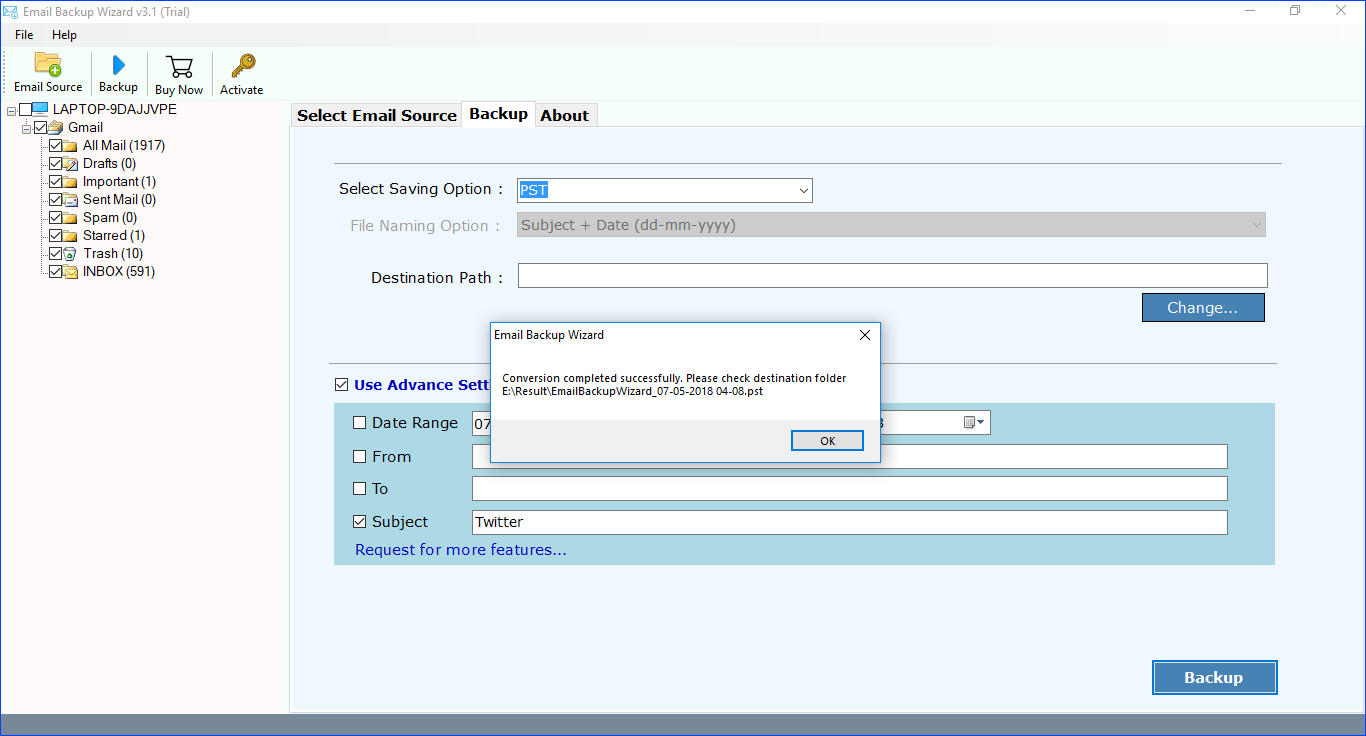
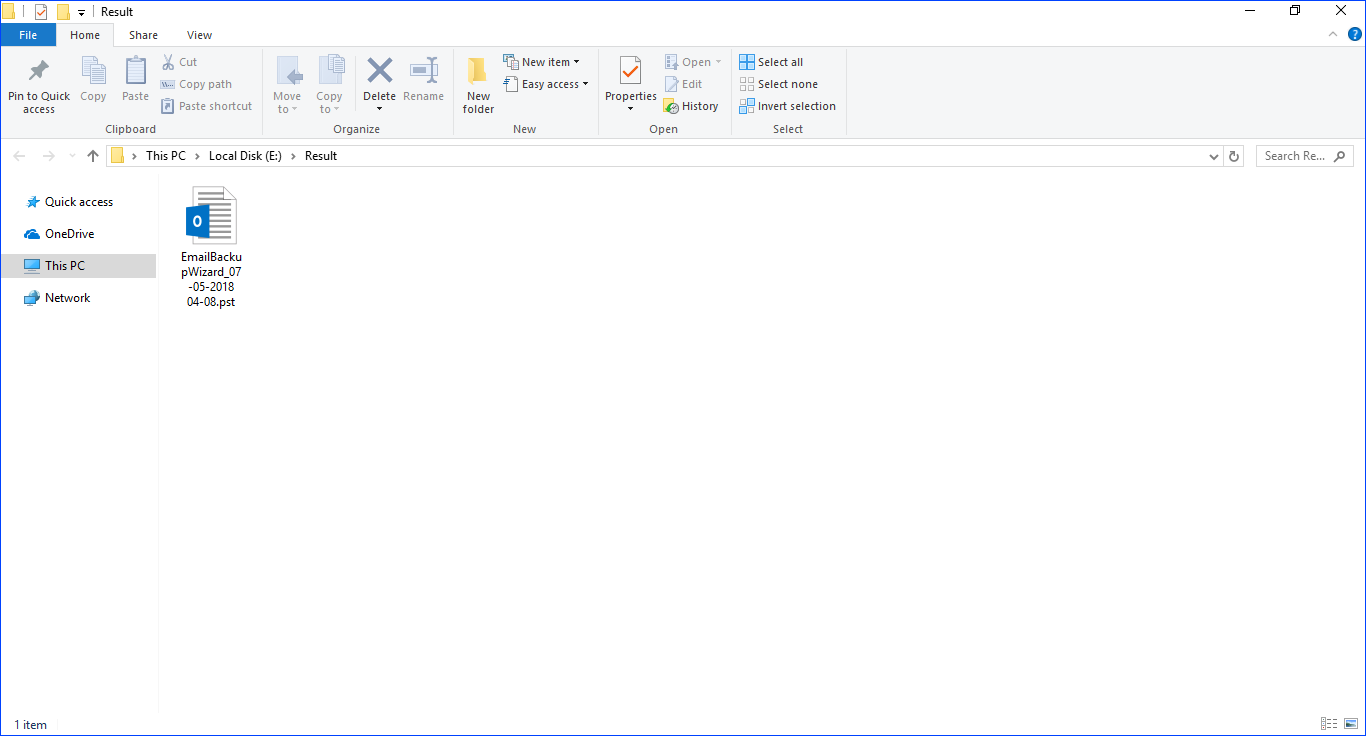
How to Filter Gmail by Subject and Save Gmail Emails to Computer?

Read More...
Detailed explanation. Read and learn more.

Questions?
Common queries and expert's answer

Comments
Chat with our experts or send us an email
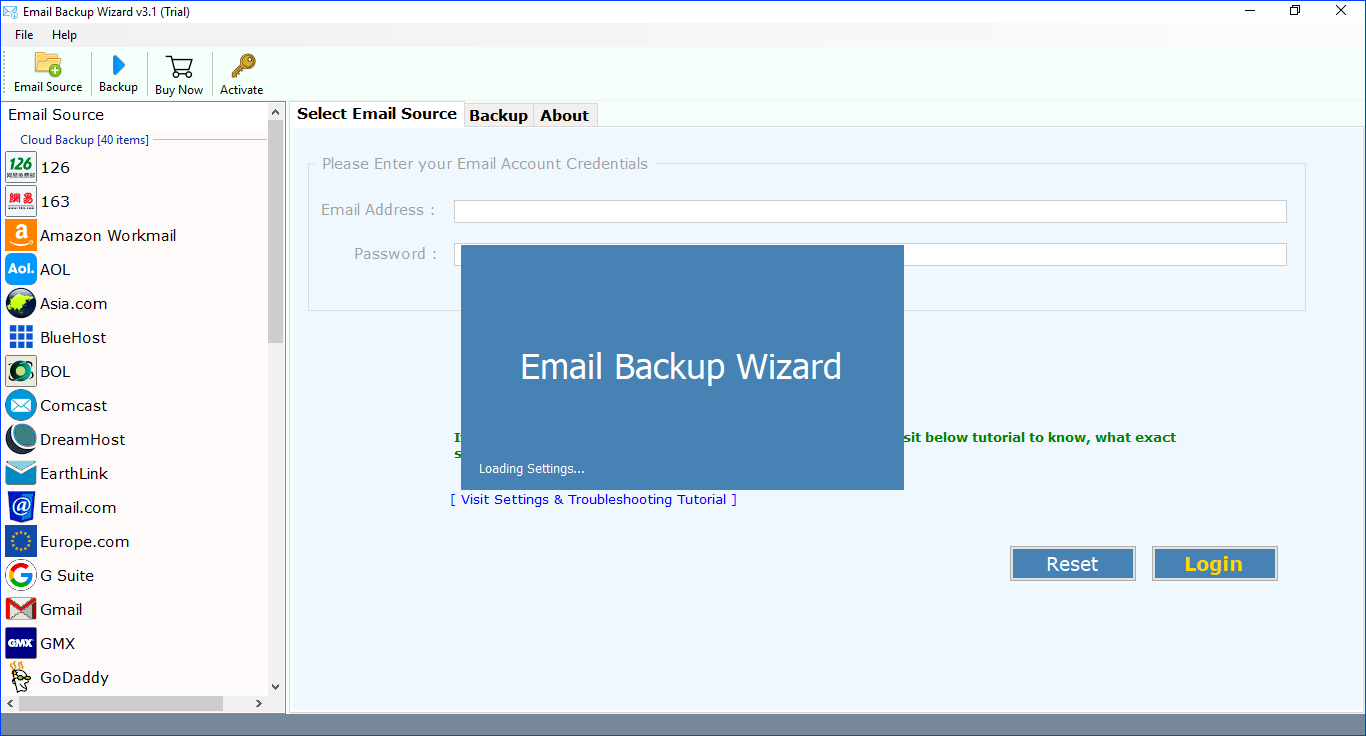
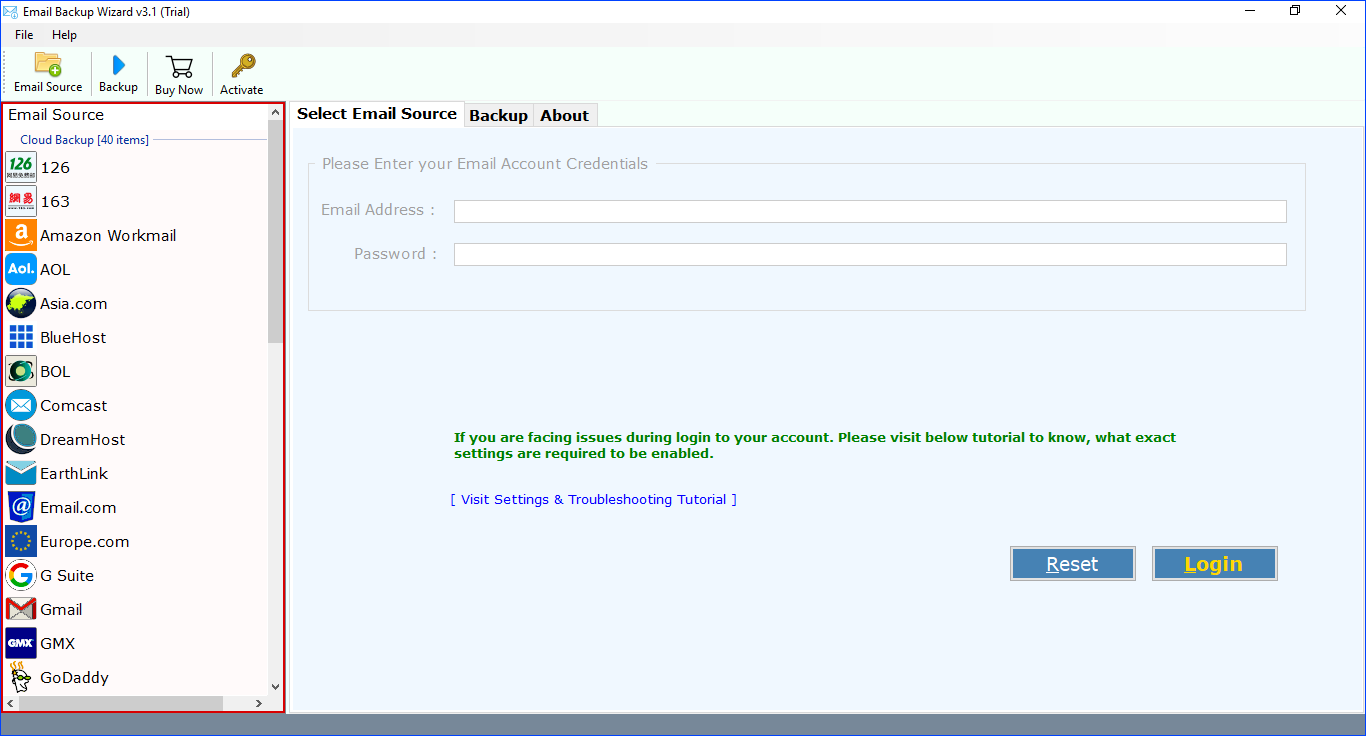
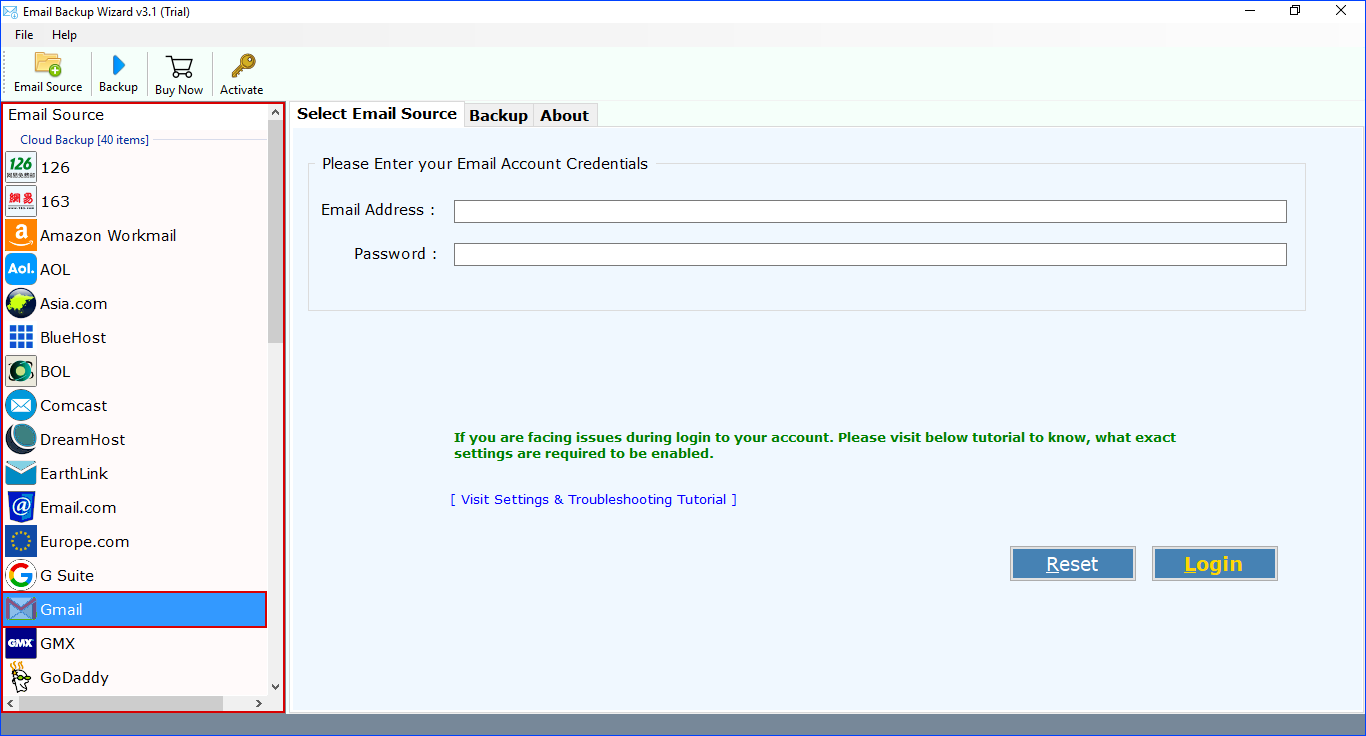
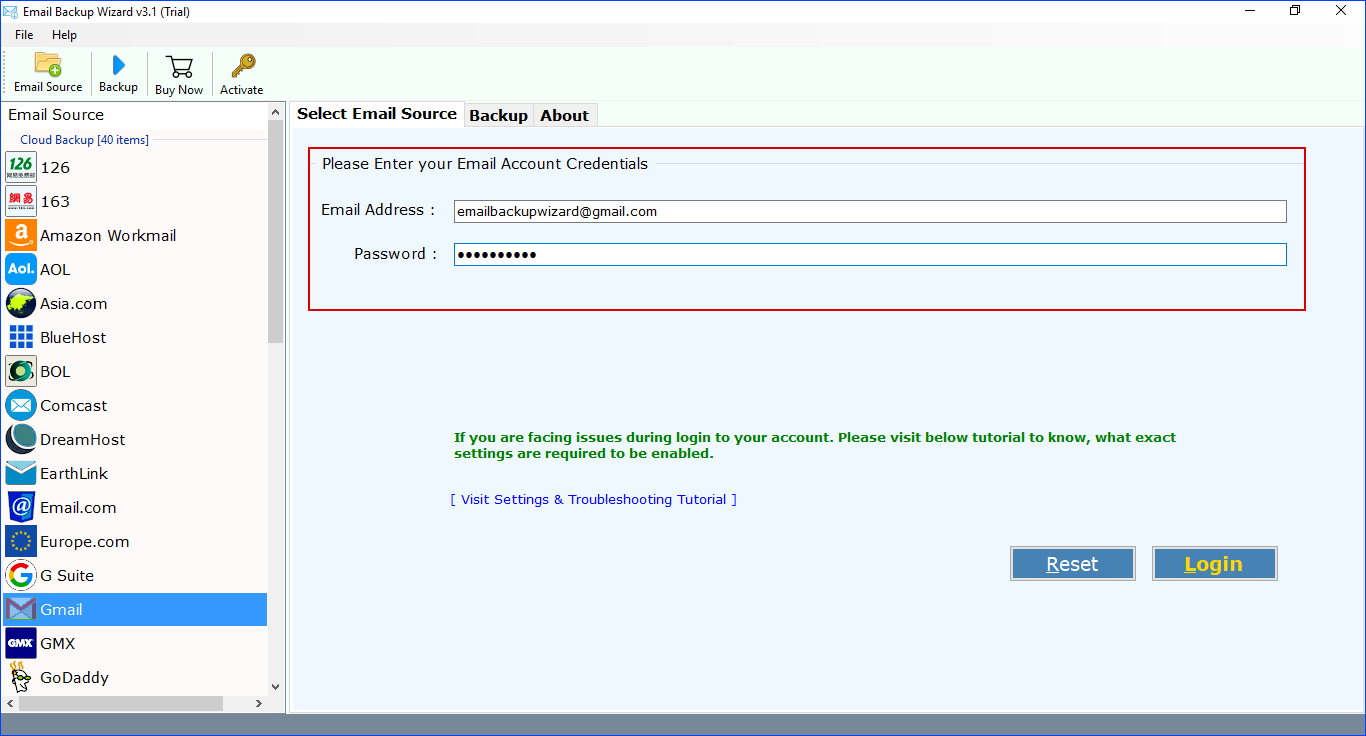
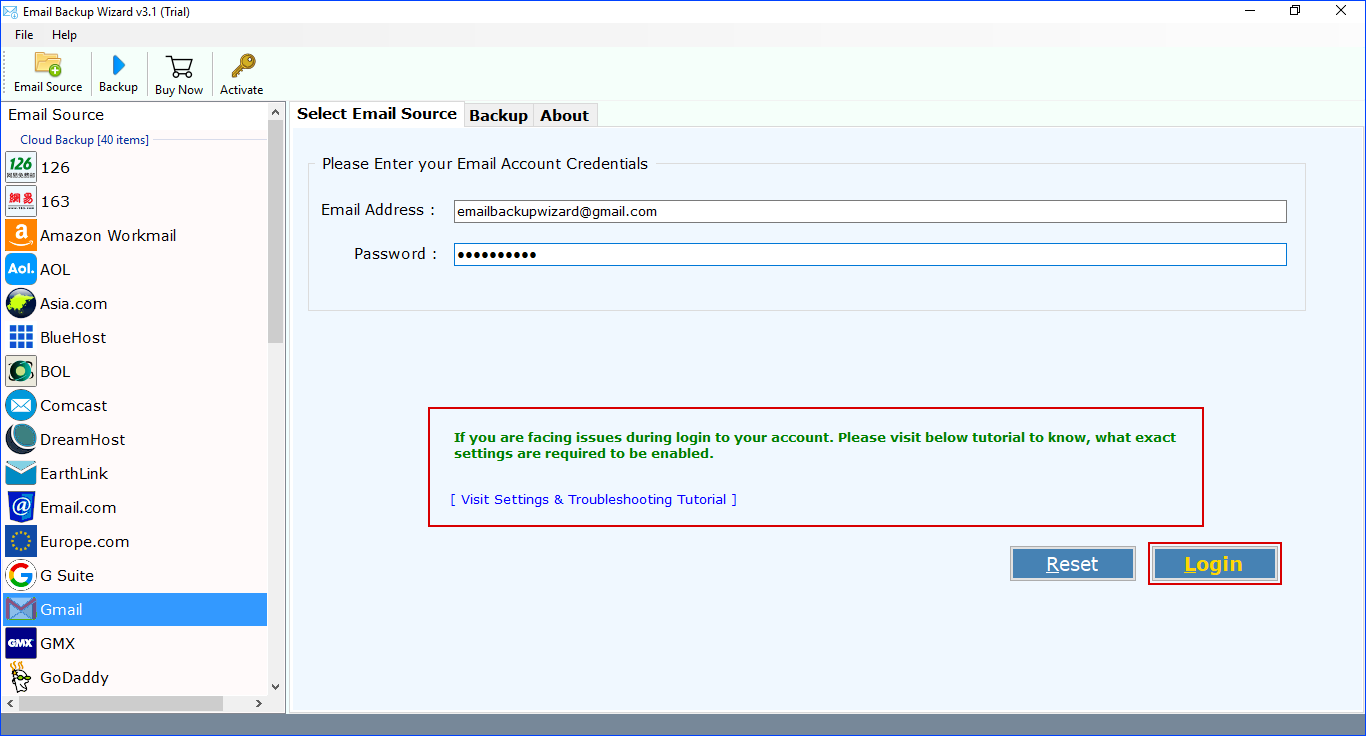
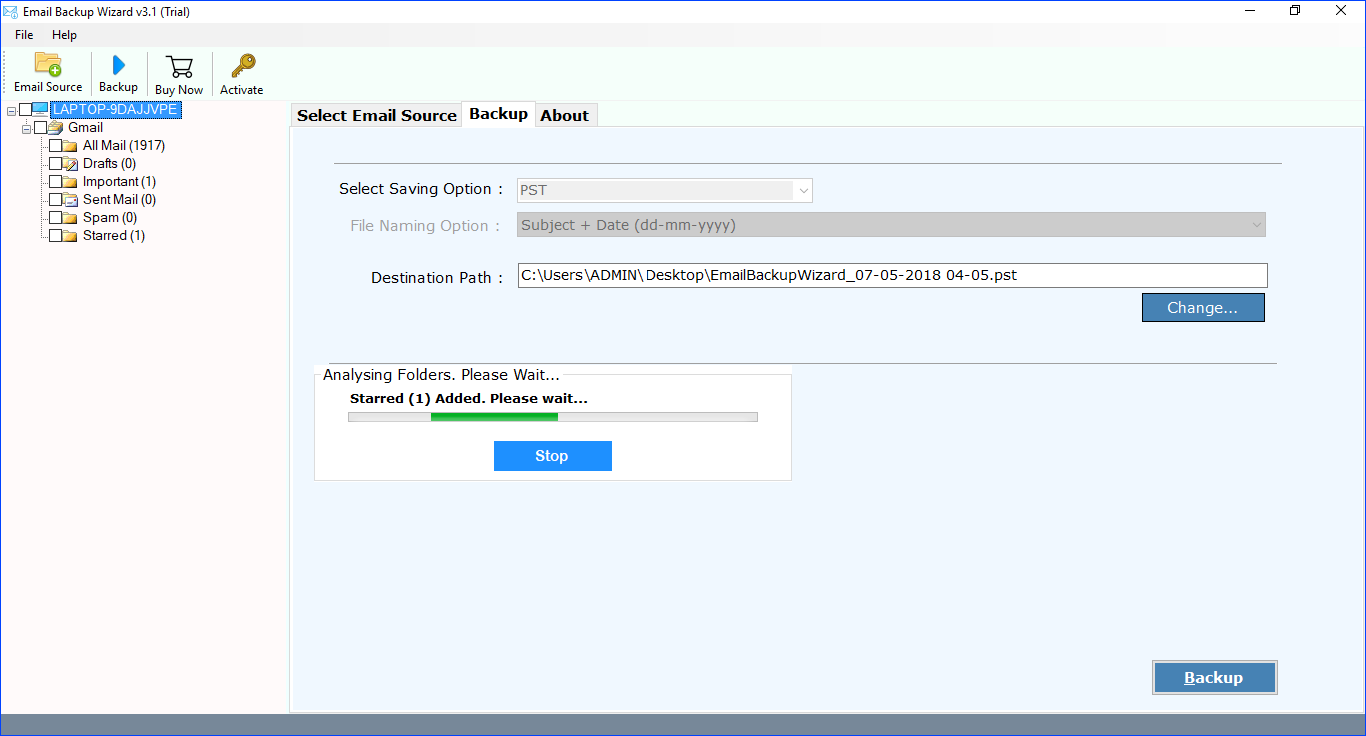
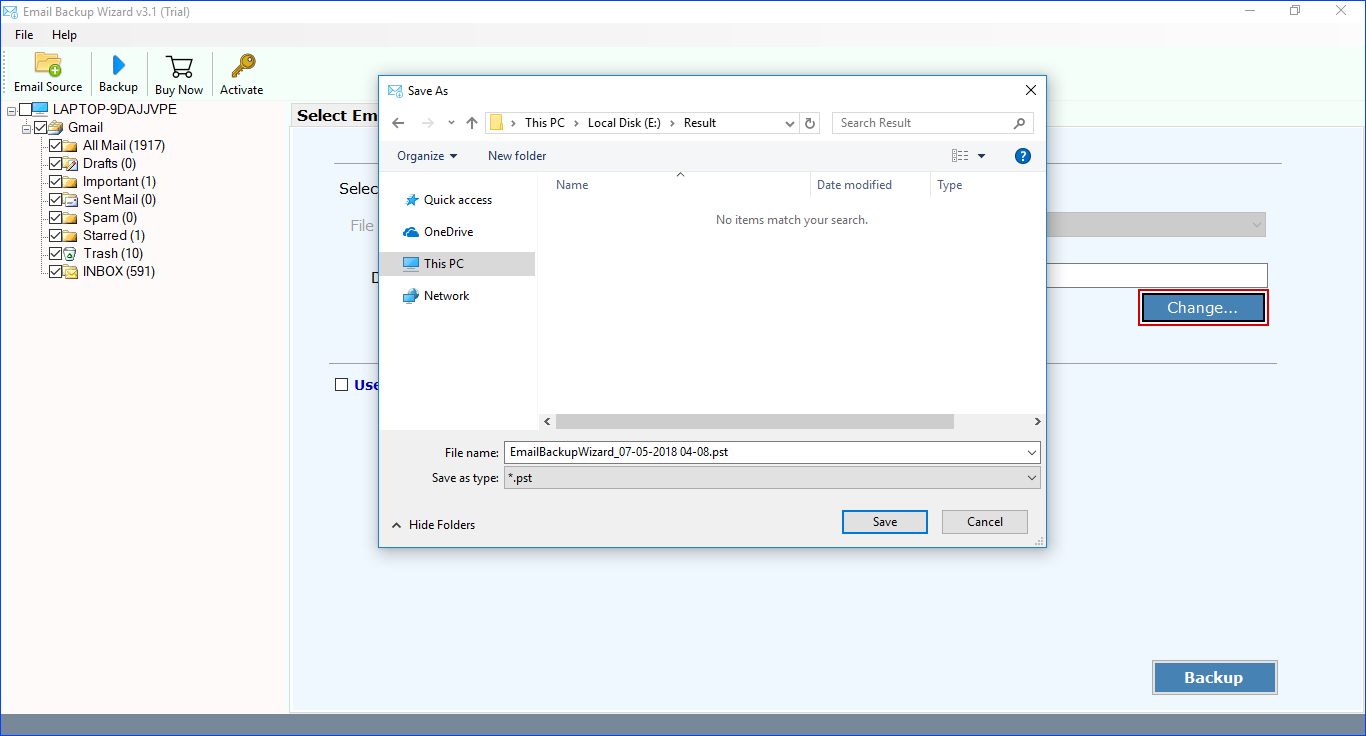
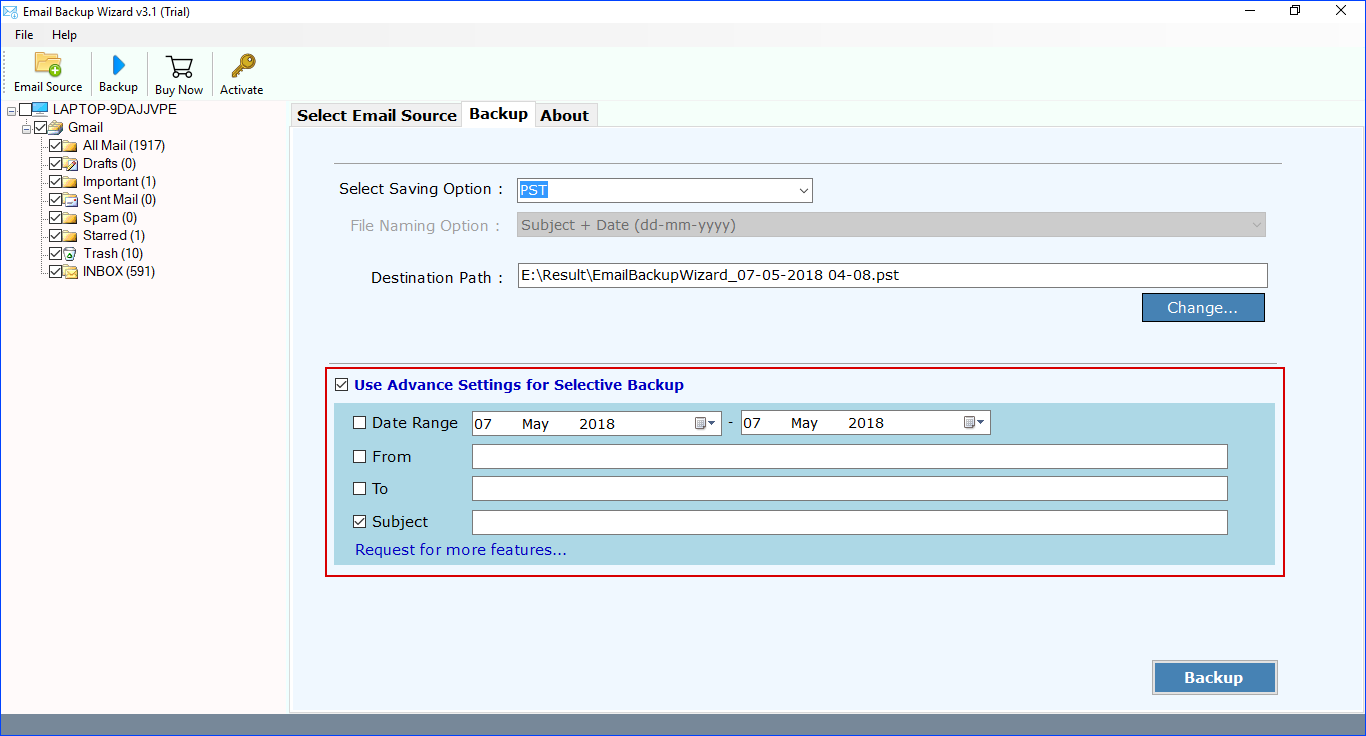
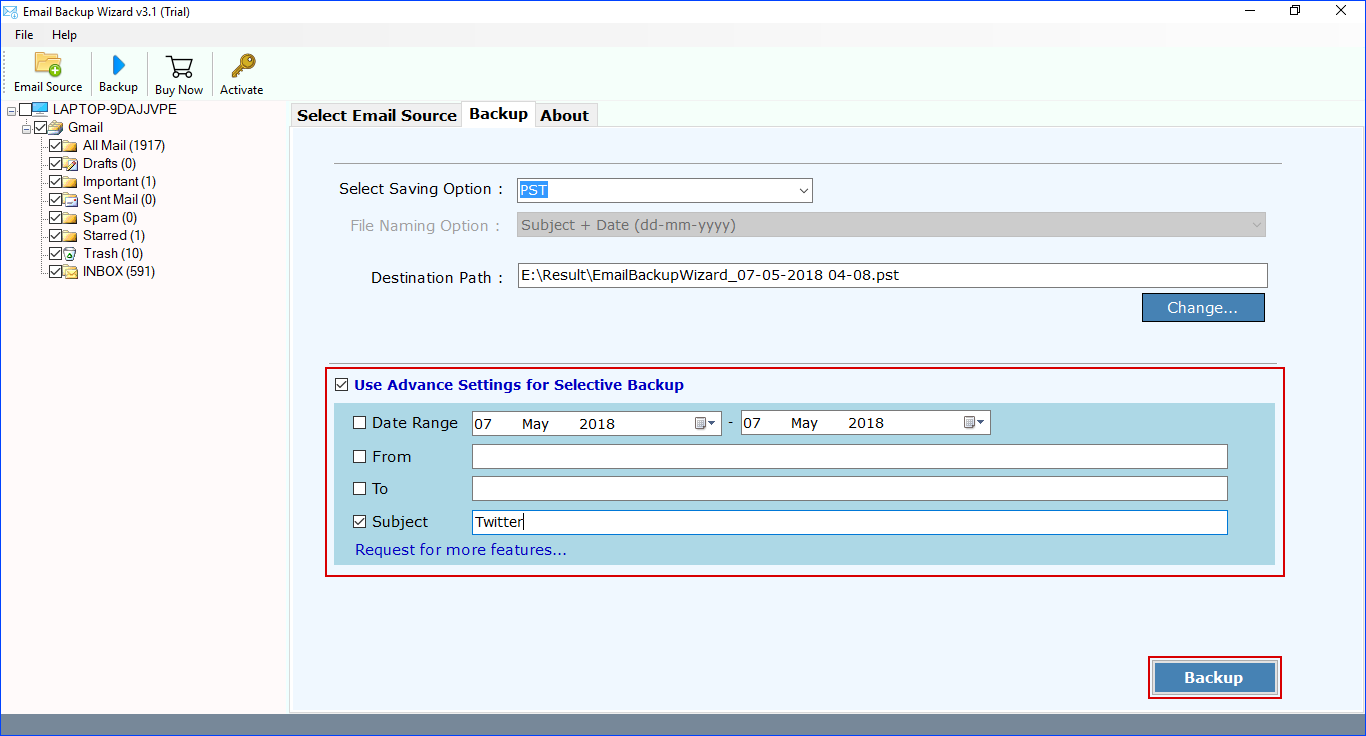
Filters allows you to create all the rules for how to handle your Gmail emails. It allows to organise all the email stuff accordingly. In the similar way, most of the time users search for a solution how to filter Gmail by Subject and save Gmail emails to computer. Read on to know the way to perform such action to filter Gmail and save emails to computer. Read More
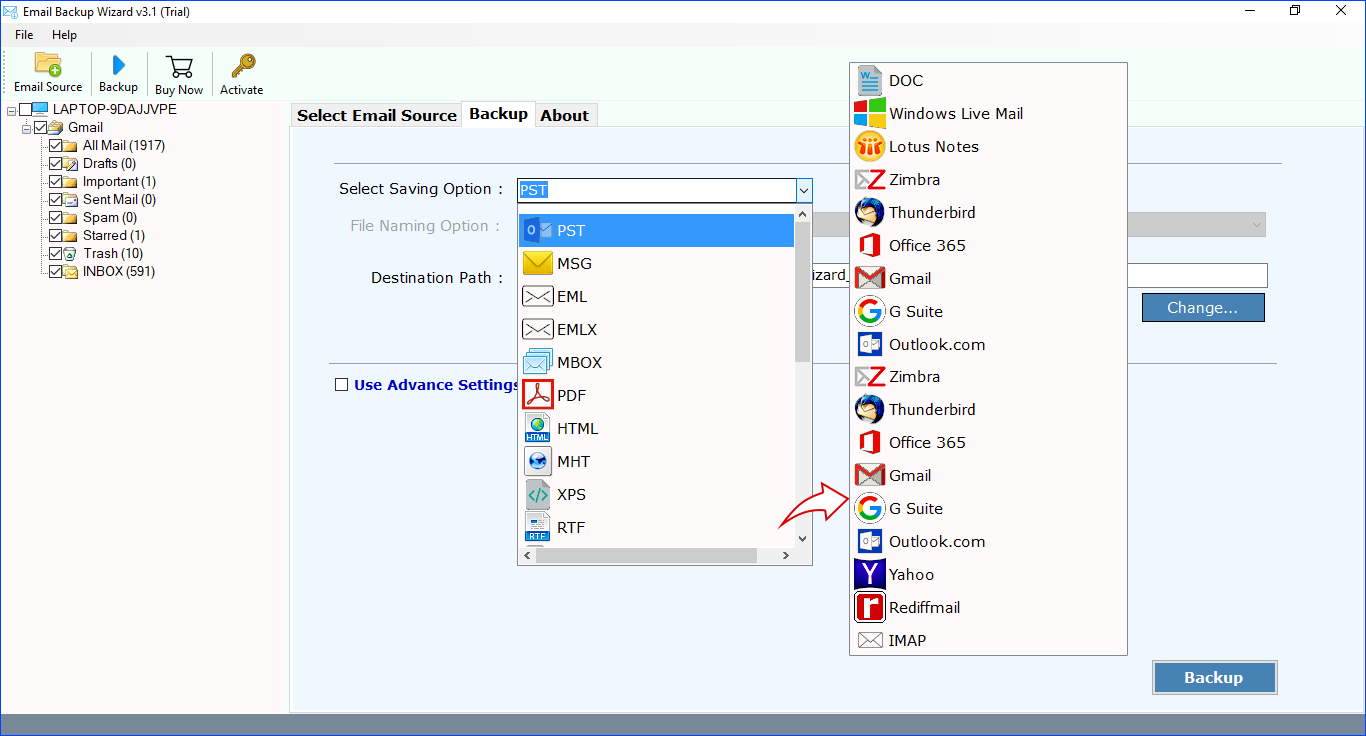

Major Queries while Saving Specific Subject Emails From Gmails!!!!
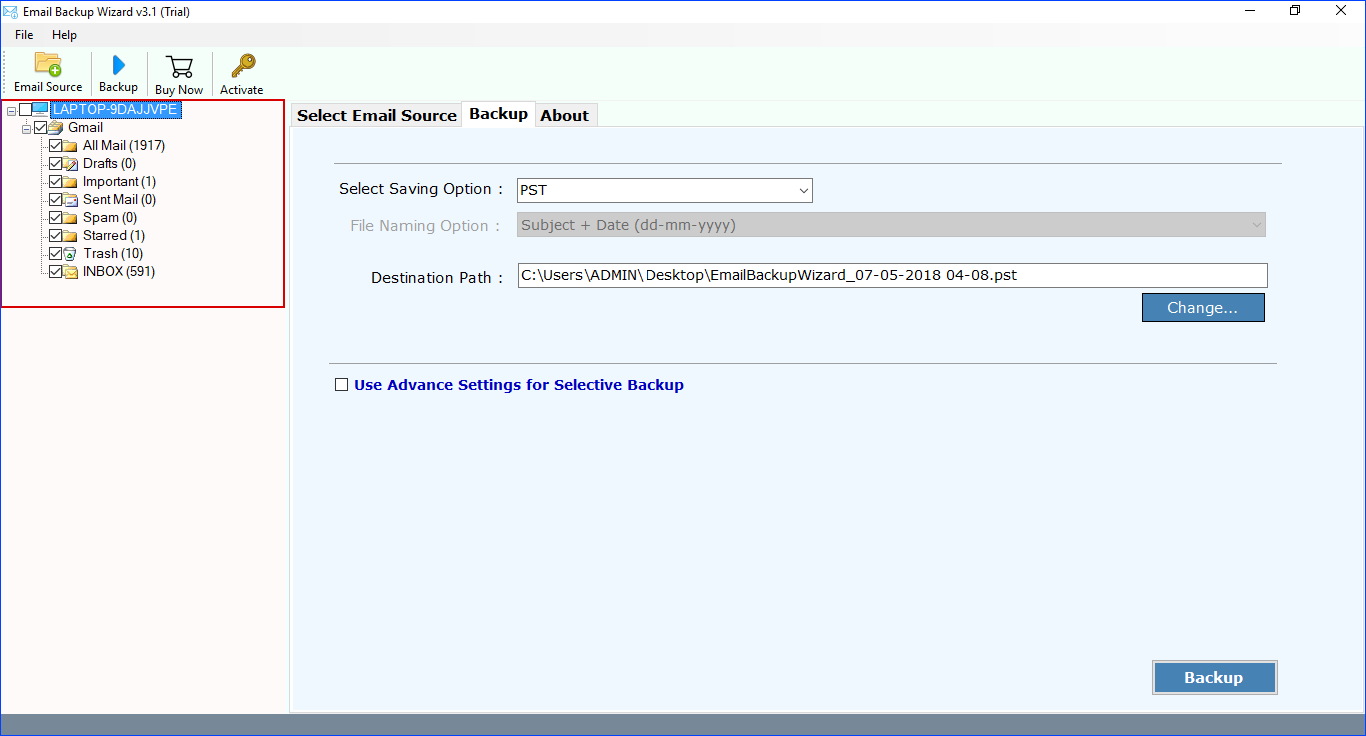
Yes, the software preserves the integrity of data while performing the process to filter selected Gmail emails.
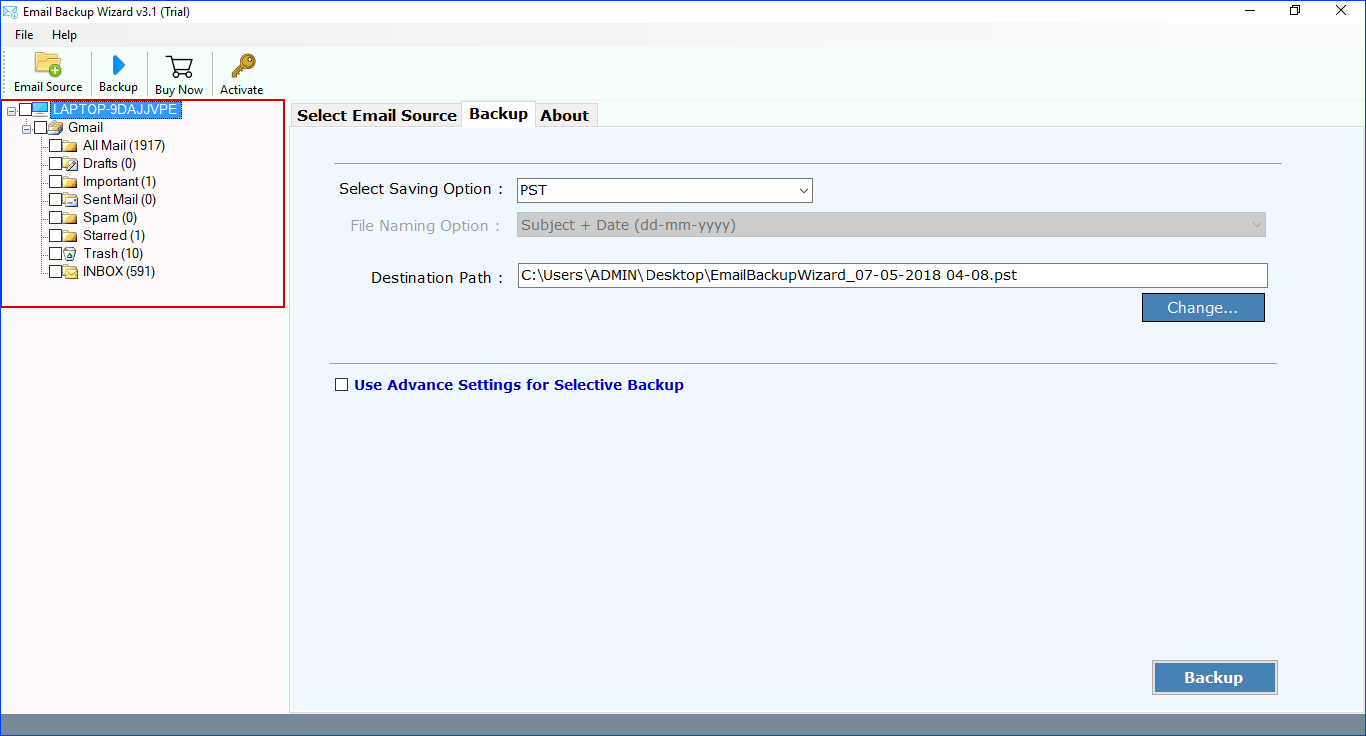
Yes, you can simply sort all your Gmail by using Email backup Software.
Mark Kewnnedy, UK
06/05/2018
Wow, this was very helpful. Thanks very much for putting this tutorial together!
Klass Kay, US
07/05/2018
This is one of the best tutorial I ever watched. It's very clear as well as easy to follow. And it worked so, Thank you and keep making more like this!