How to Import Google Takeout MBOX to Various Email Clients

If you have some .mbox files having downloaded emails from Gmail and wants to increase its usability. This can be done by the process to import Gmail MBOX files into multiple email clients. There is also some other desktop based email clients that a user may give preference to use. Some applications provide direct option to import MBOX files like Apple Mail while some only allows to Import/Export mailbox in their native file formats like Outlook, Windows Live Mail, Lotus Notes or Zimbra. In that case we need to use some other techniques making it easier for a user to Export Gmail MBOX file. Hence, we are going to discuss how to import MBOX files into all major email clients one by one.


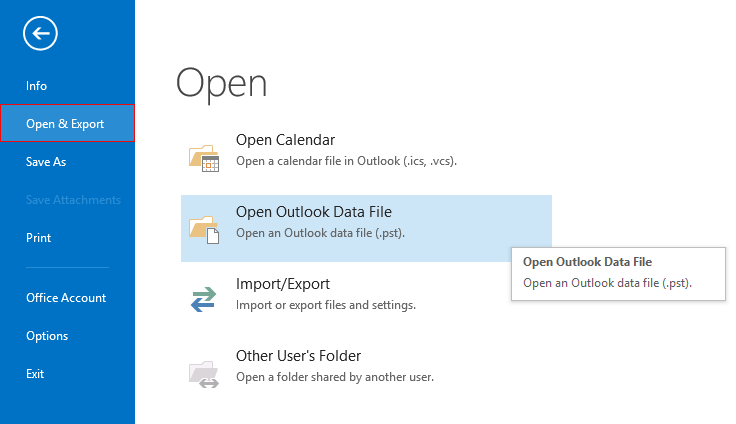
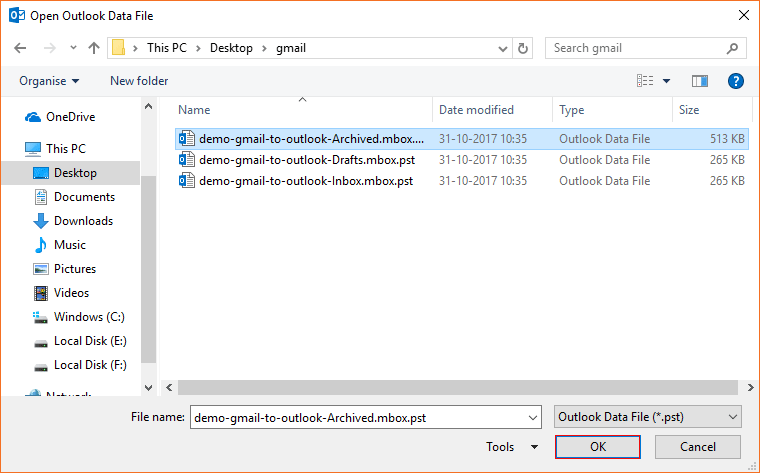
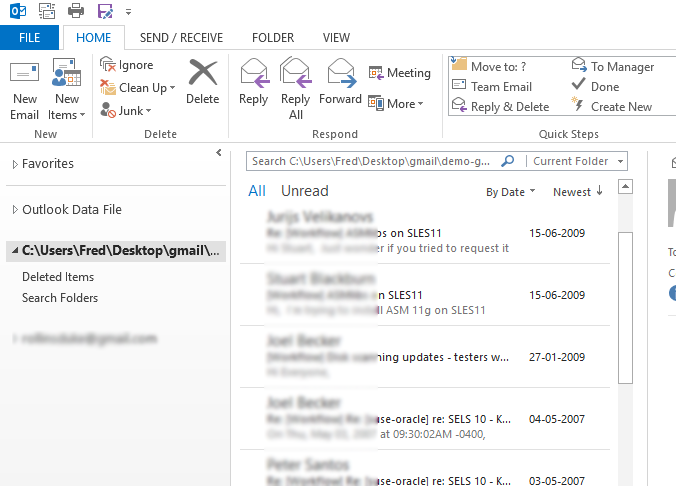
How to import email from Gmail to Outlook ?
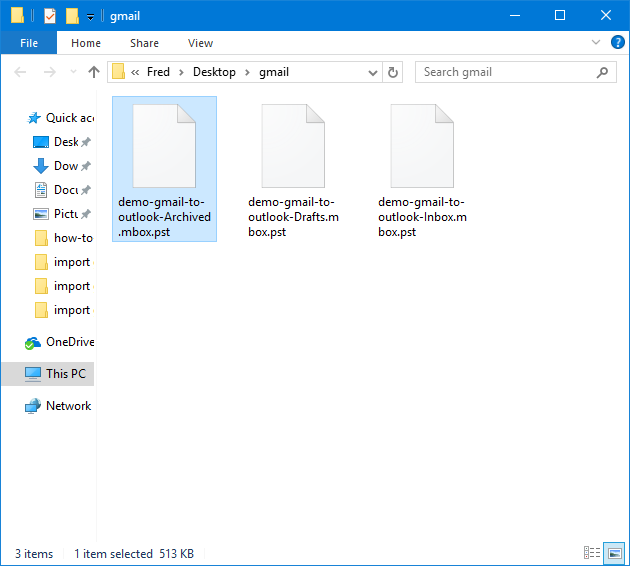
It is not quite easier for a user to transfer emails from Gmail to Outlook 2016, 2010, 2007 or other editions. As user download selective emails or all from Gmail to hard drive in archive hence, it receives MBOX files when extracts Mail folder of Archive. But, Windows Outlook does not allow to import file having .mbox extension instead it has its own native file format to import data i.e. PST (Personal Storage Table). Hence a user needs to export Gmail to PST format to import selected emails into Outlook. Making conversion of Gmail MBOX files to PST format is not pretty easy technically, hence to ease the whole Gmail Emails to Outlook Migration process it is required to use a professional utility that can handle resultant MBOX file and convert it to PST format without making any change in its properties like Meta, hyperlinks, attachments, objects, texts, etc. Let’s make it possible with the help of All-in-One MBOX Migrator.
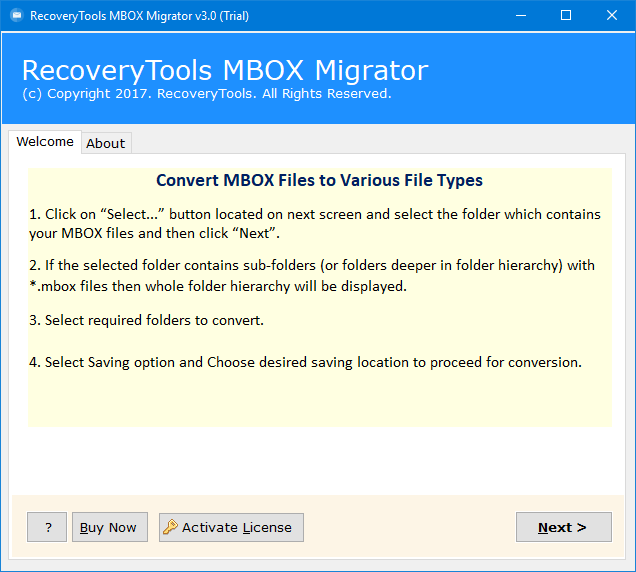
Install & Run RecoveryTools MBOX Migrator. Read the instructions carefully to convert MBOX files to PST format. Click on Next button once you are ready to start the process.

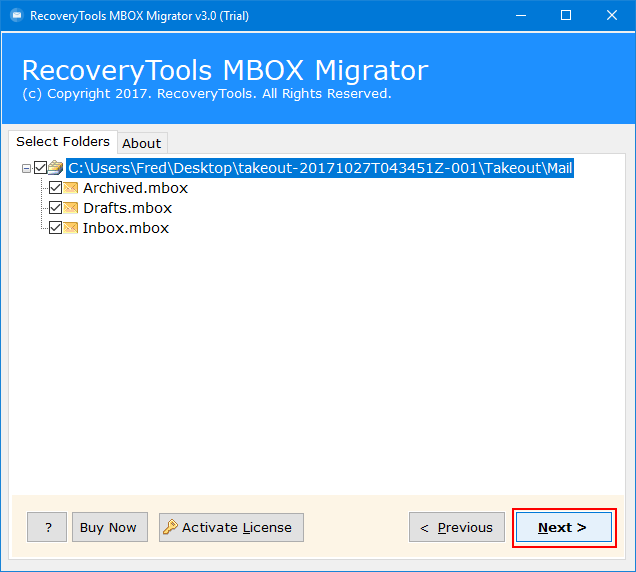
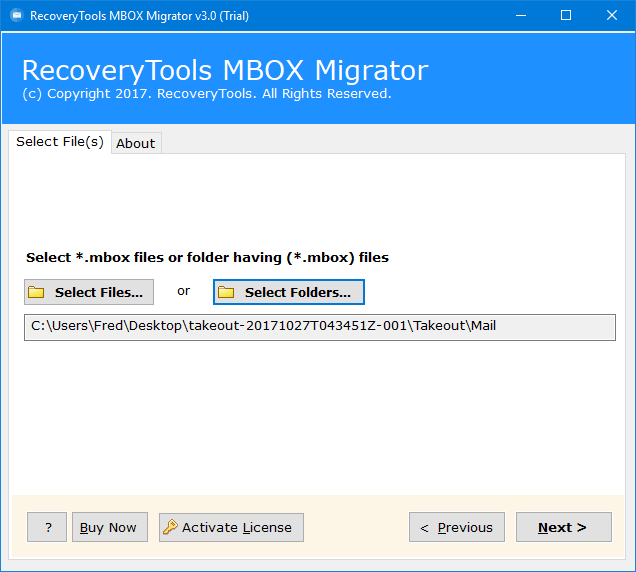
The tool supports both single as well batch MBOX file conversion, hence select Select Files or Select Folders option to choose the resultant Gmail Mail file by browse to the source location. Click on Next button to Continue.
The panel will display all the MBOX files from the downloaded Mail folder of Gmail. Select folder(s) for conversion. Then click on Next button.
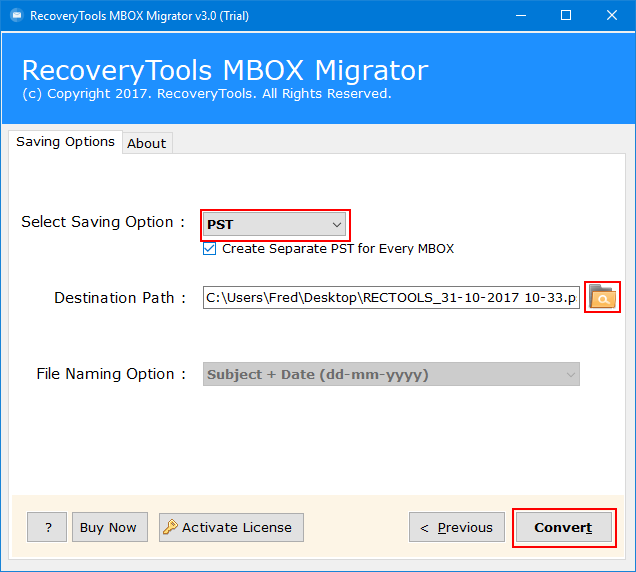
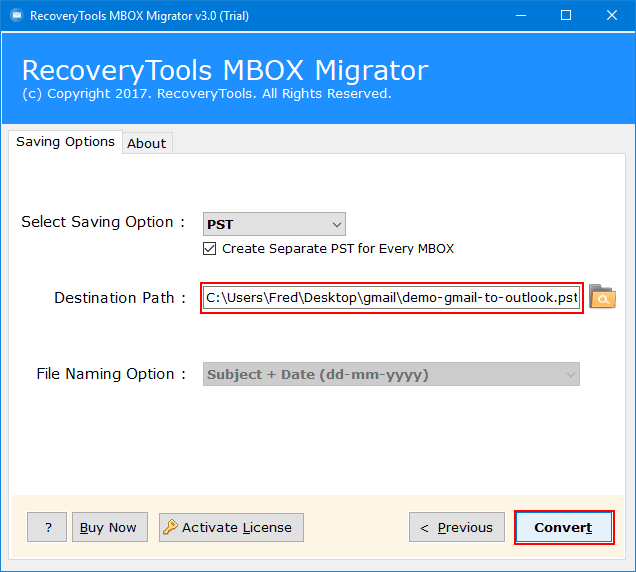
To export MBOX file to PST, choose PST from the Select Savings Option list. The tool provides dual methods to create PST ether single or separate PST for each MBOX file. Click on Convert button to start the conversion at default destination path or click on Folder icon to change the location to save resultant PST file.
One can alter the name of the resultant PST file according to his choice. Select the location to save PST file & click on Save button.

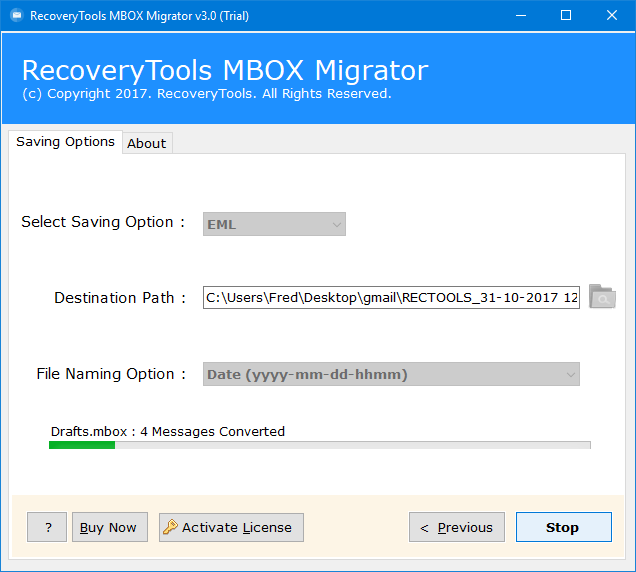
Reverify all the file setup process. Once you are confirmed click on Convert button to start conversion.

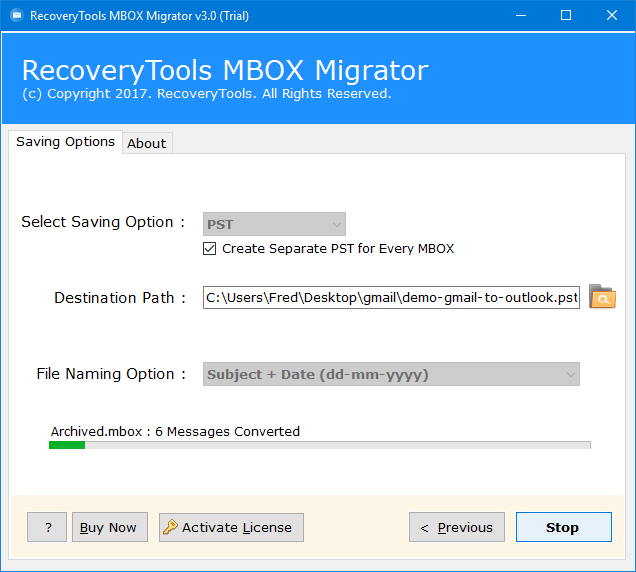
Live conversion process with mailbox file name & messages exported can be analyzed through the application panel.
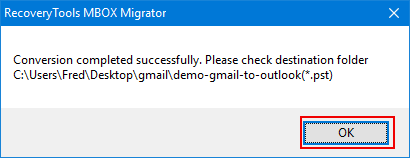
The tool will directly navigate the users to the destination location where resultant PST files are stored.
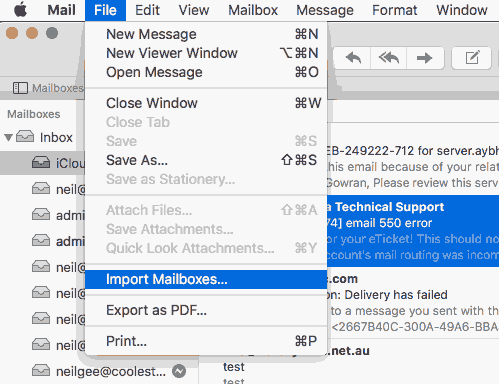
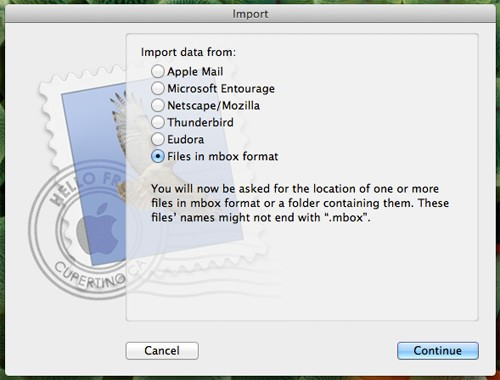
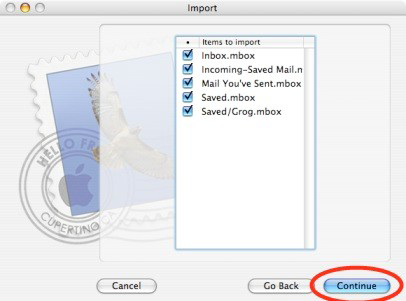
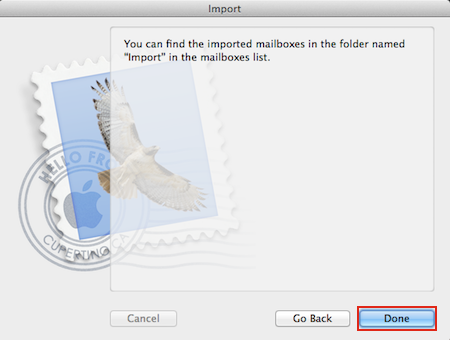
How to Import Gmail MBOX File into Apple Mail ?
Apple Mail itself provide option to directly import mailbox items from a .mbox file. Apple Mail is capable to import all types of MBOX files including Gmail archived and all the emails can be easily accessed with all attachments and Meta properties once MBOX file import to Apple Mail. It can be done by following the given steps in best simplified manner.

How to Import Gmail MBOX to Thunderbird ?
Once a user received selective emails of Gmail in an archive file then he can successfully import MBOX files into Thunderbird profile. Thunderbird is a free, open source, Desktop based email client by Mozilla. To import Google takeout MBOX Gmail to Thunderbird one can use SysTools Thunderbird Import Wizard v3.0. The utility will allow a user to import multiple MBOX file into Mozilla Thunderbird Email application profile in bulk.
Step-wise-step Procedure to Import Gmail MBOX to Thunderbird Profile
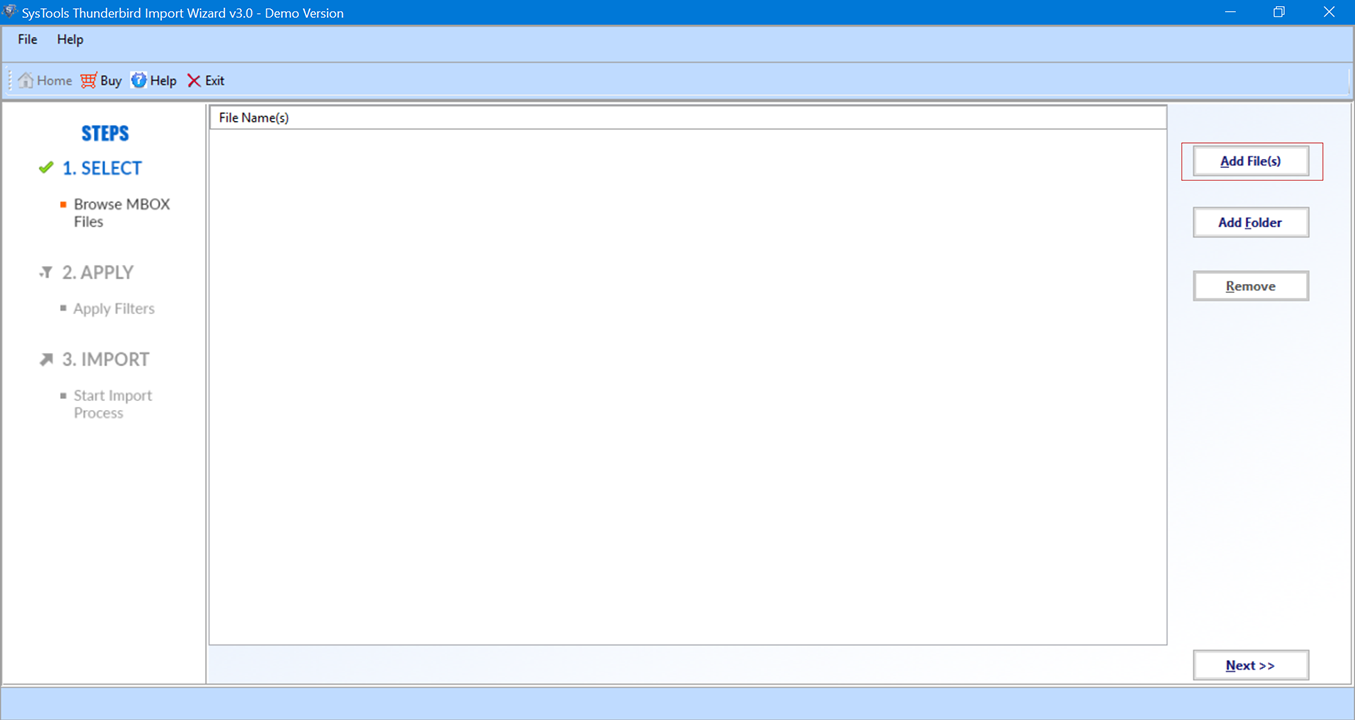
Download, Install & Run SysTools Thunderbird Import Wizard. Click on Add File(s) to load Gmail MBOX files selectively or Add Folder to load complete Gmail archive Mail folder.
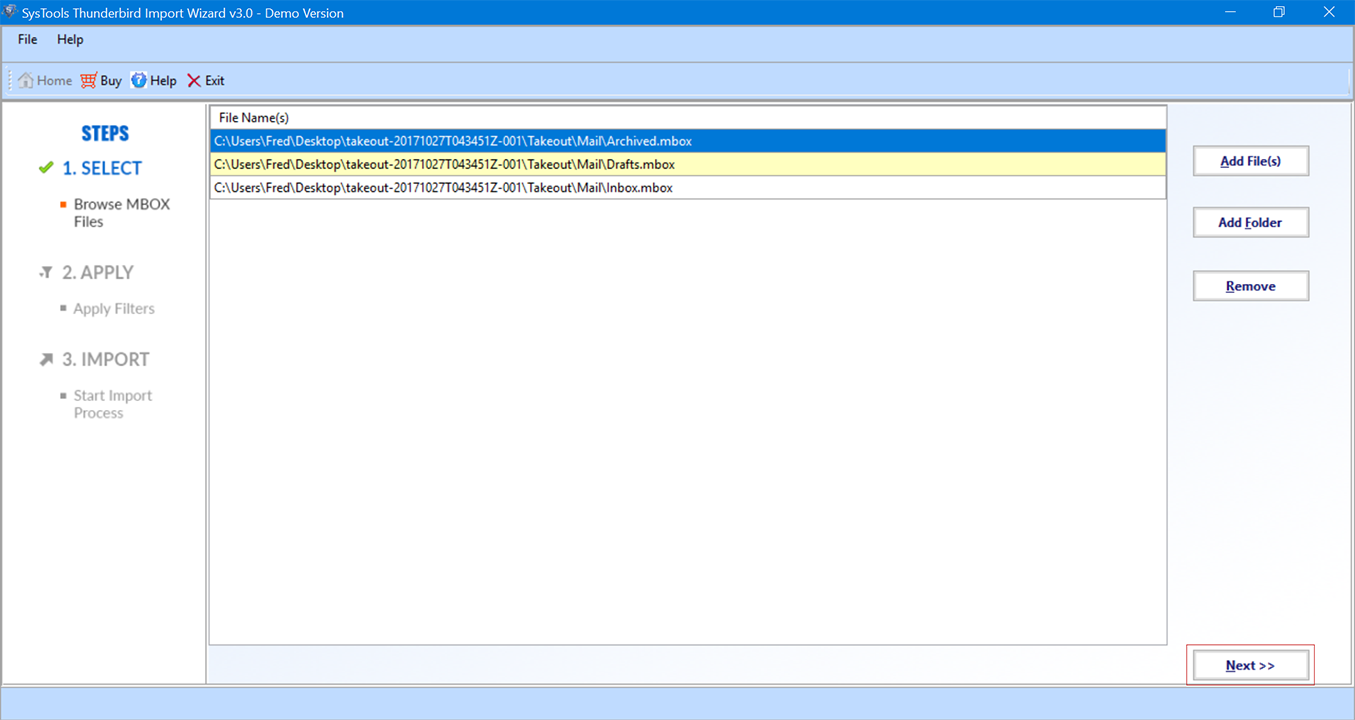
All selected MBOX files will be displayed into the application panel. You can also Remove any unwanted MBOX file from here. Click on Next button to move forward.
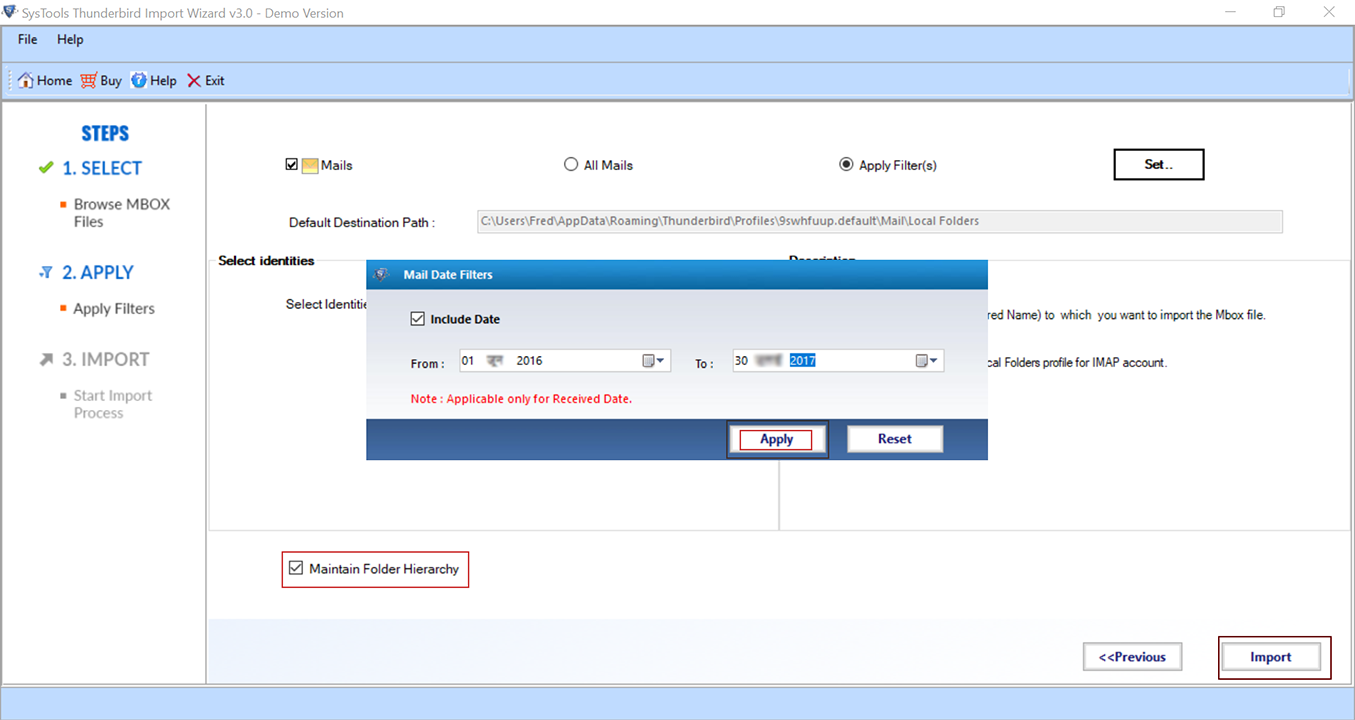
In the next step, the Wizard will ask you to Select the Identities to import MBOX file data into specified profile. By default, All Mails option is enabled, but to Apply additional filters click on Set button.
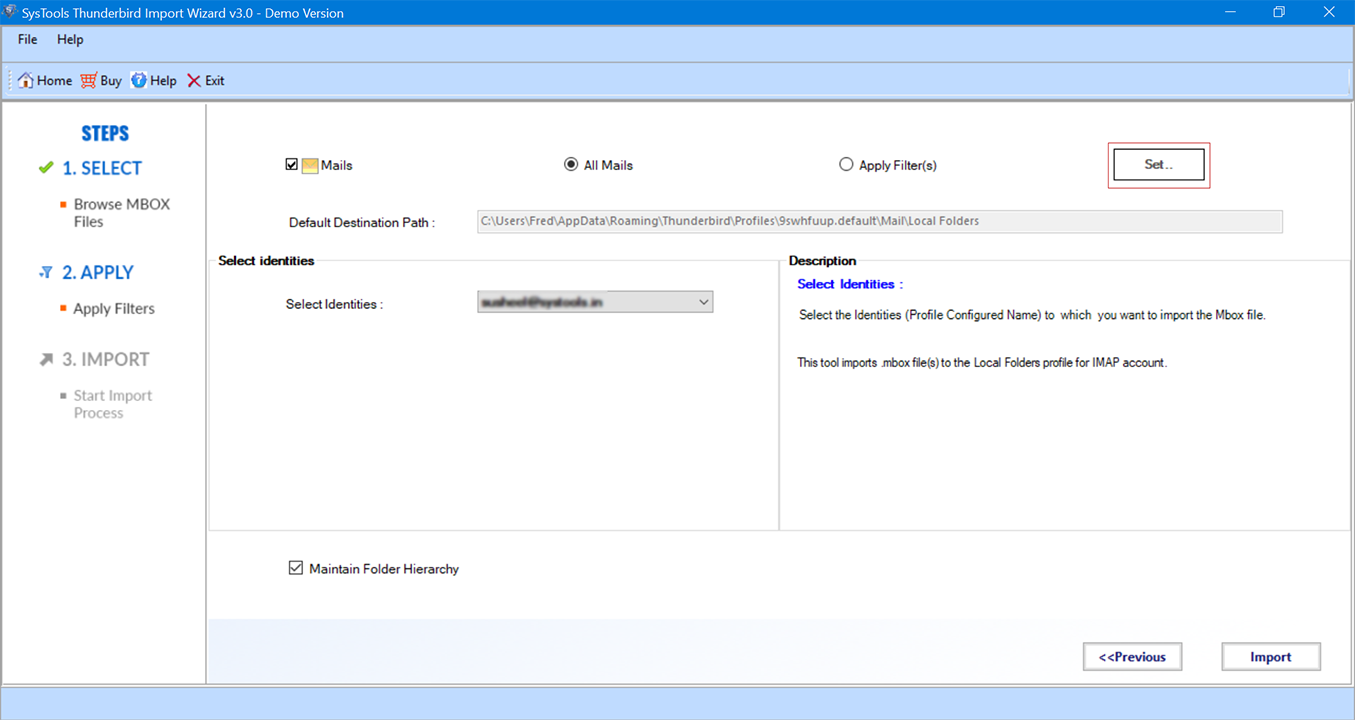
One can only import selected Gmail MBOX emails with Mail Date Filters. It allows users to import only emails from the specific date range. Check on Include date option after that select ‘From’ & ‘To’ date to specify range and click on Apply button. User can enable/disable Maintain Folder Hierarchy option directly through the application panel. After all setup correctly Click on Import button.
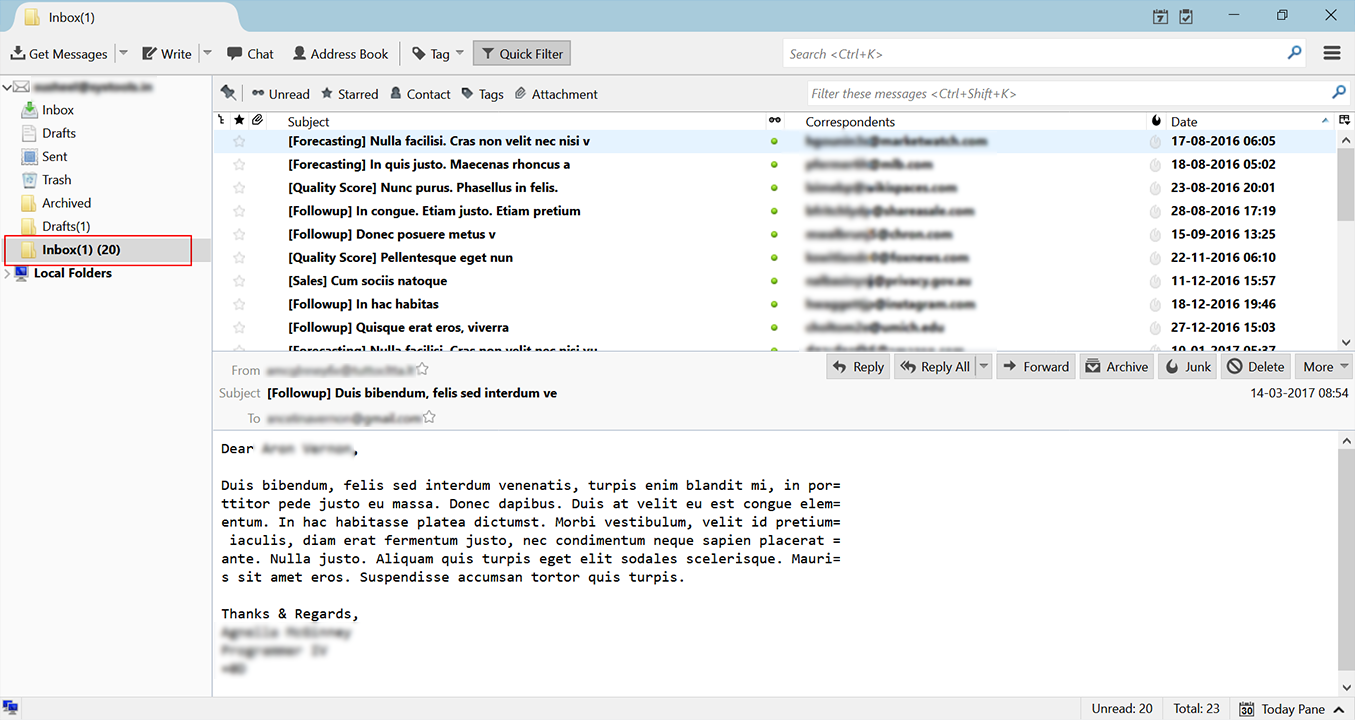
One can see the live process of import Gmail MBOX file into Thunderbird profile in the application panel.
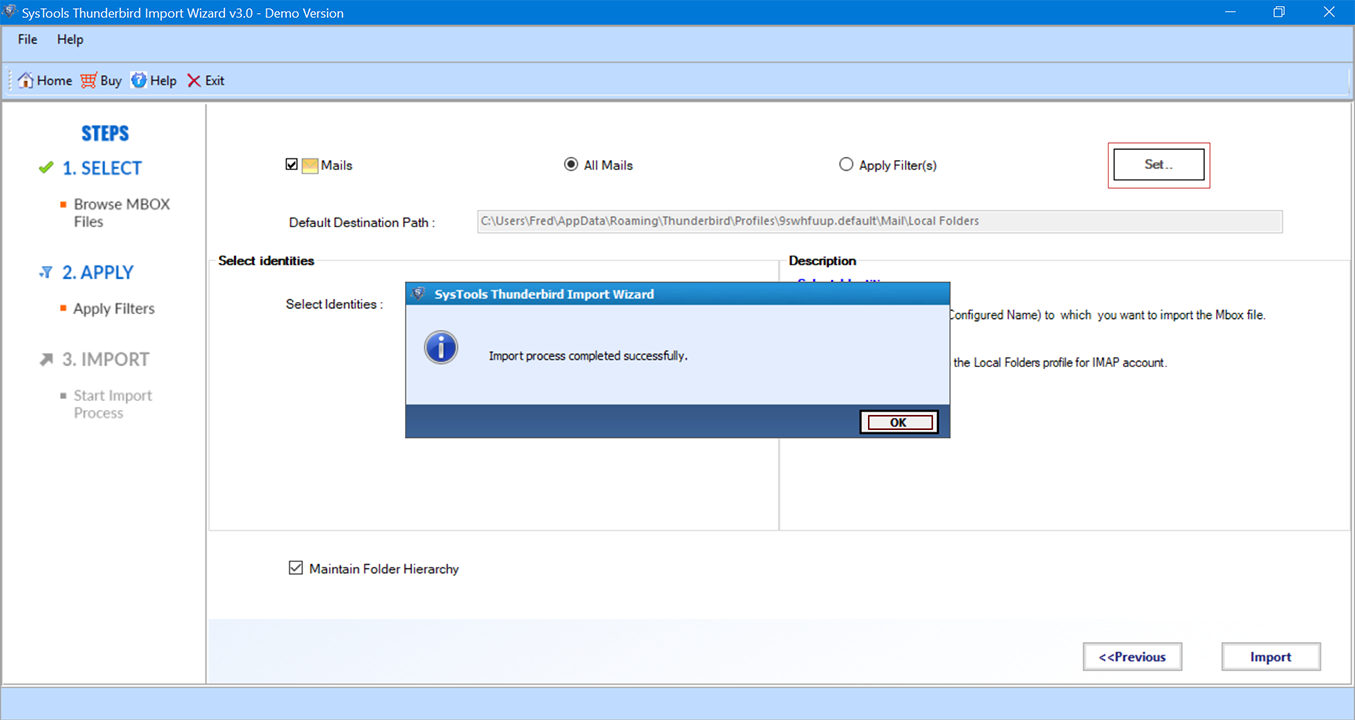
After successful completion of process, A confirmation box will be displayed. Click on OK button to Continue.
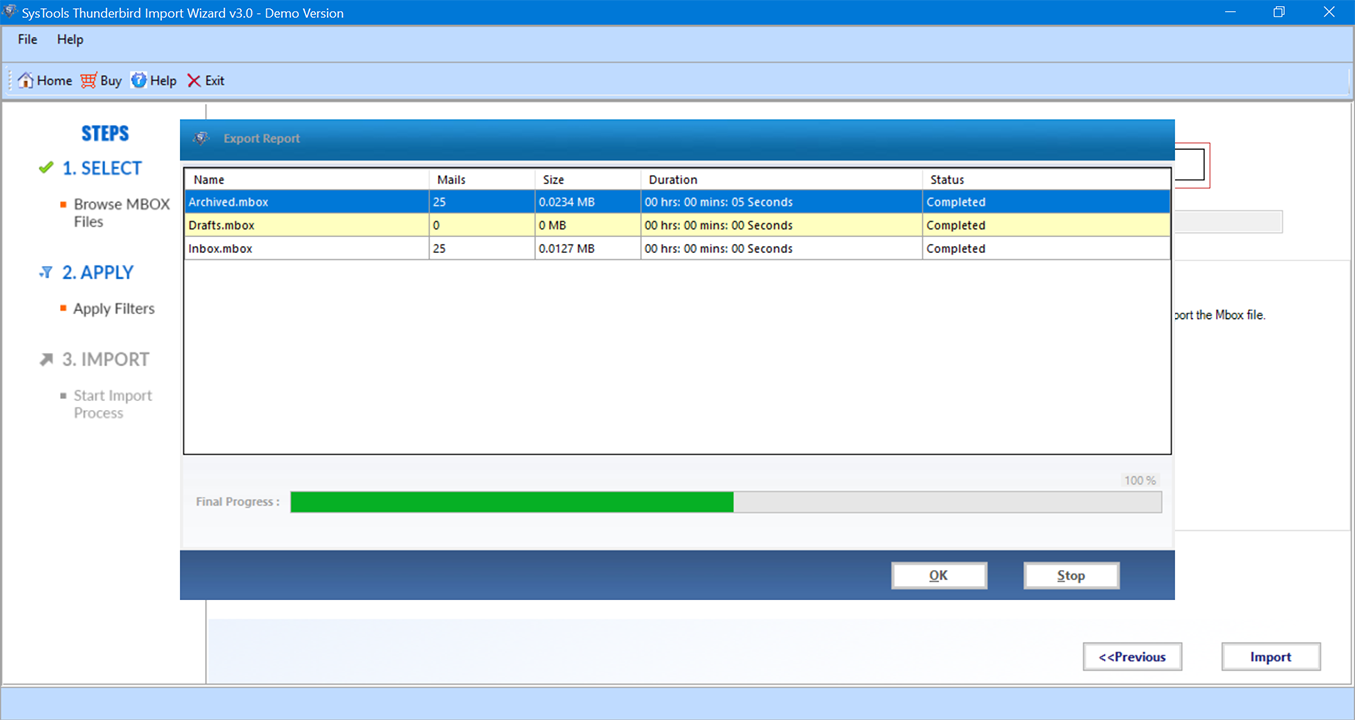
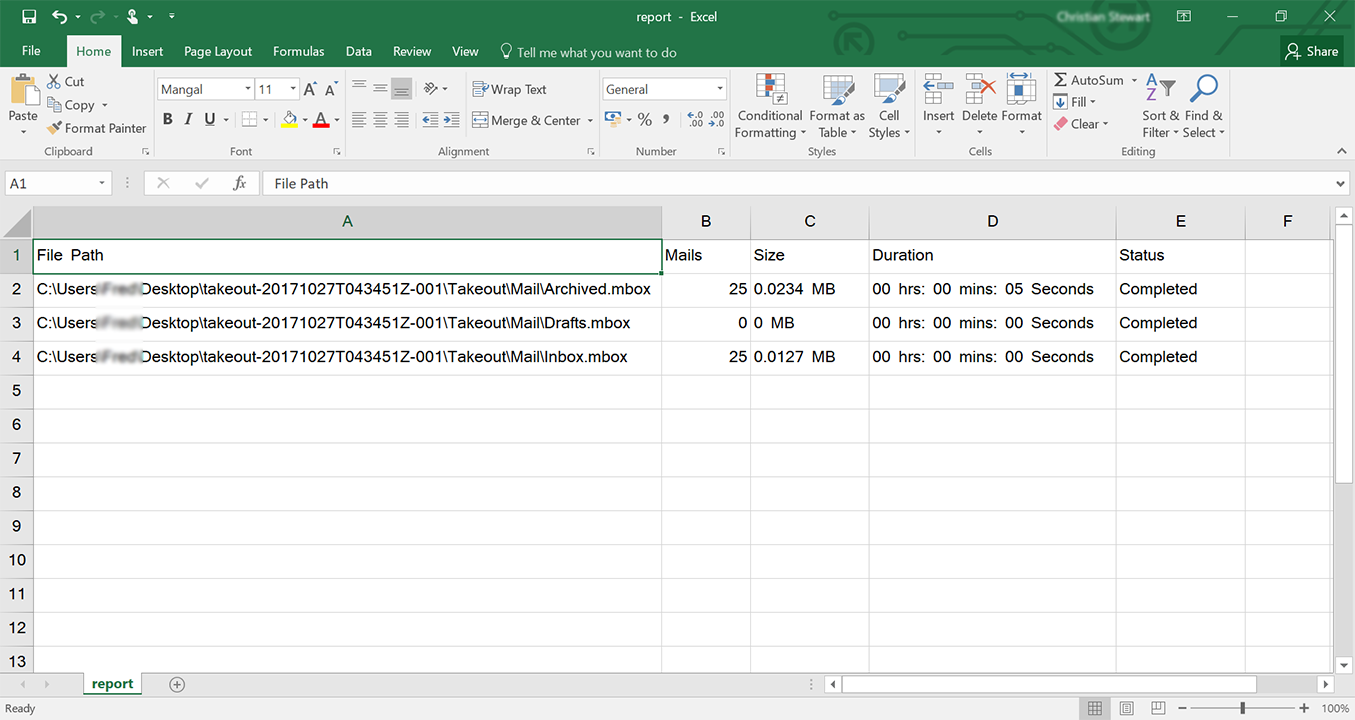
The Thunderbird Import Wizard tool will display the Final Process results with Name of MBOX file, number of emails imported, size of mailbox, time elapsed during process, and Status. Click on Save Report for future use.
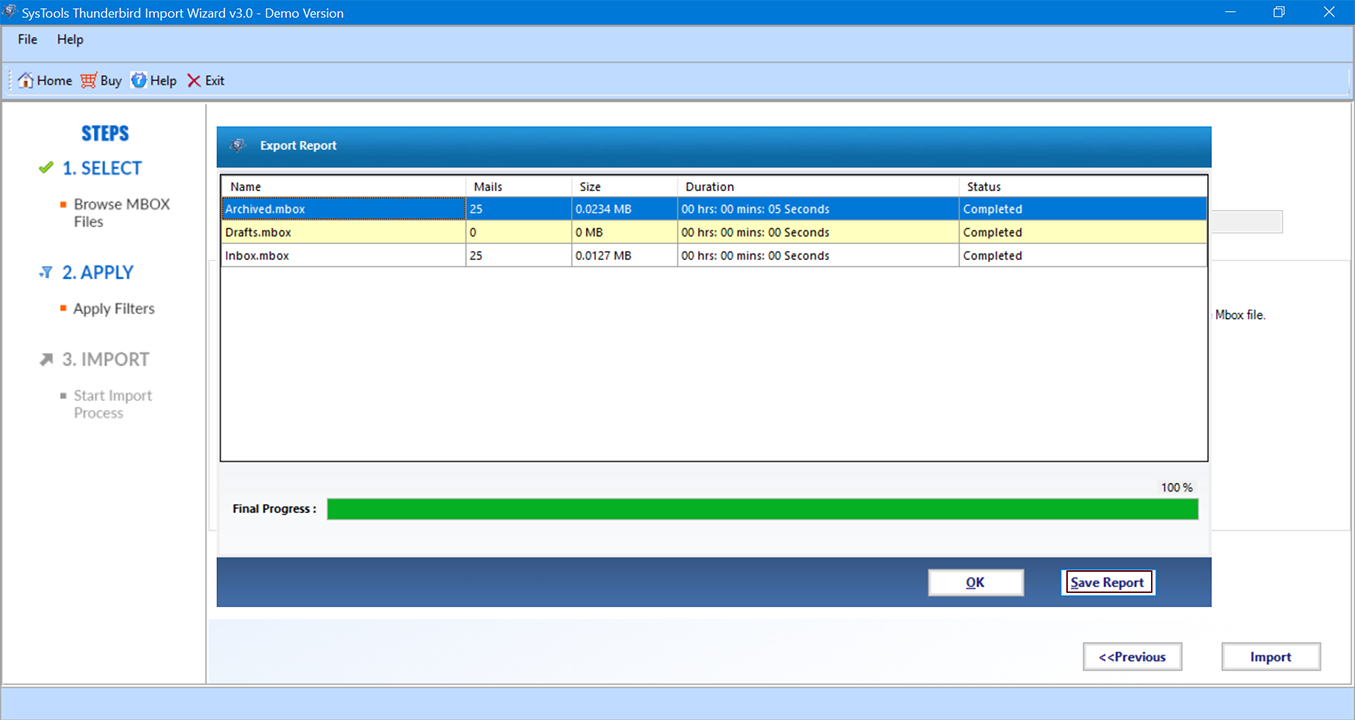
One can save the report of the process in a .csv file. Select the File name & destination path to save the report file.

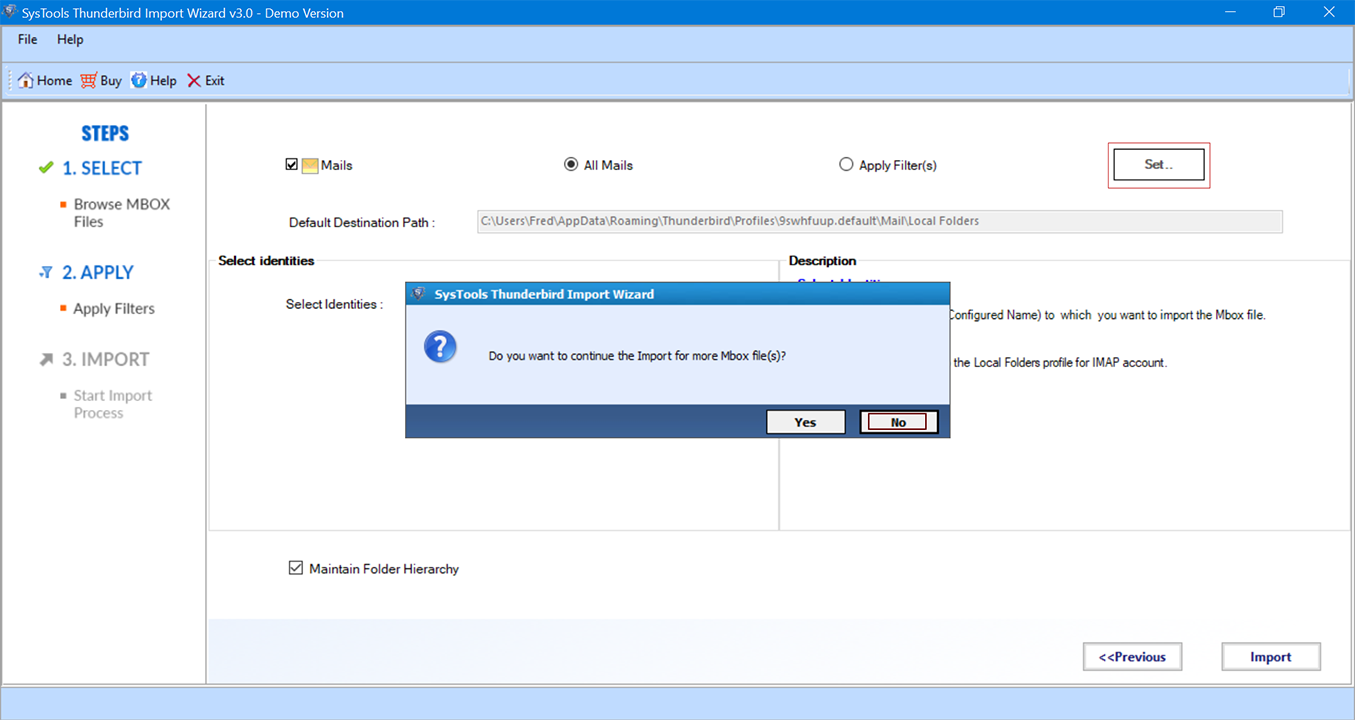
The utility will ask you to import more .mbox file into Thunderbird. Click on No button to exit from the Thunderbird Import Wizard.
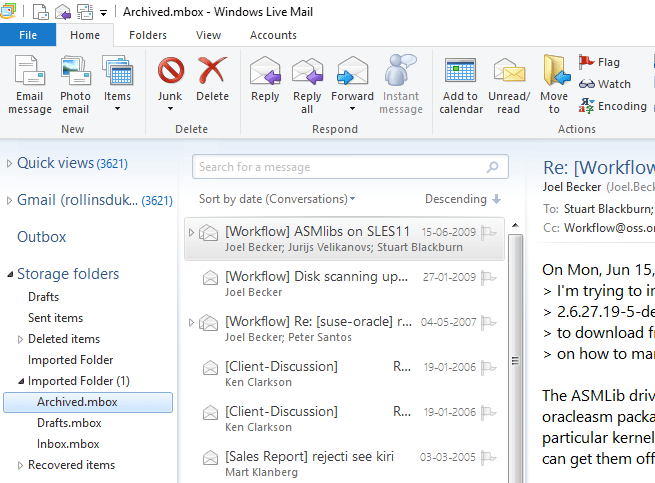
How to Import Emails from Gmail to Windows Live Mail
After taking successfully backup of Gmail emails in an archive user can import it into Windows Live Mail Email Client. Windows Live Mail or Windows 10 Mail is a popular email client for Windows which allows to import .eml files. User can Import Google takeout MBOX into Windows Live Mail just by changing MBOX file into EML format. To make it possible one can use third party software that can easily perform such migration within few seconds. A complete step-by-step guide is discussed below to import Gmail emails to Windows Live Mail.
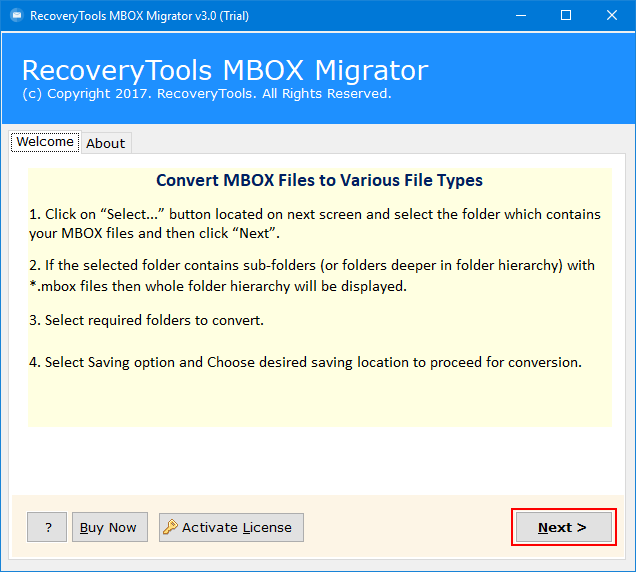
Download, Install & Run RecoveryTools MBOX Migrator. Read the necessary instructions written on the home screen of the tool. Click on Next button to continue.
Select Gmail mailbox files by click on Add Files or whole Mail folder of Archive by clicking on Add Folders. Click on Next button to continue.
Choose all the internal mailbox files by Check/Uncheck them directly through the software panel. Click on Next button to move forward.

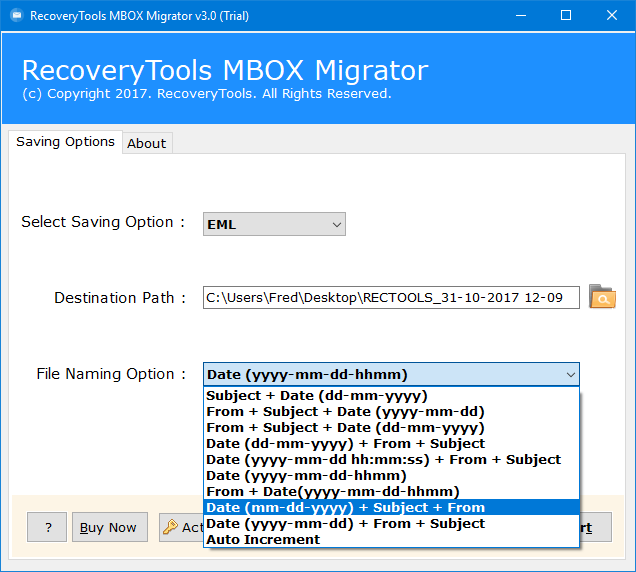
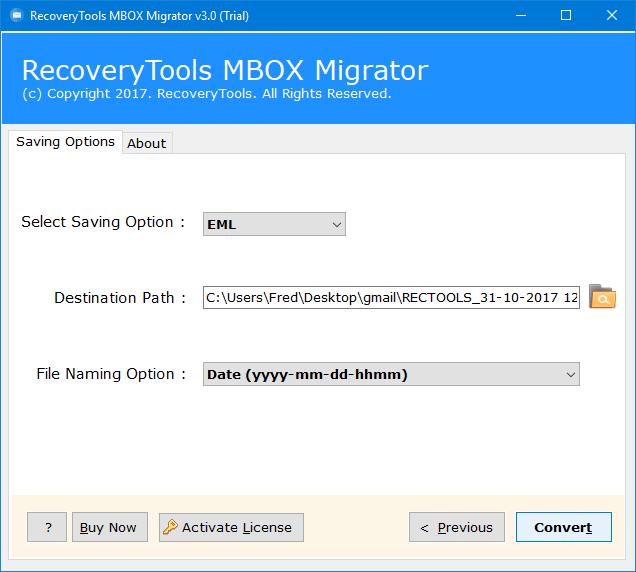
Choose Windows Live Mail supported EML format from the Select Savings option list of the tool. User can also select the various File-Naming options to save files after conversion to easily manage. Click on Folder icon to change the default location to save EML files after conversion.
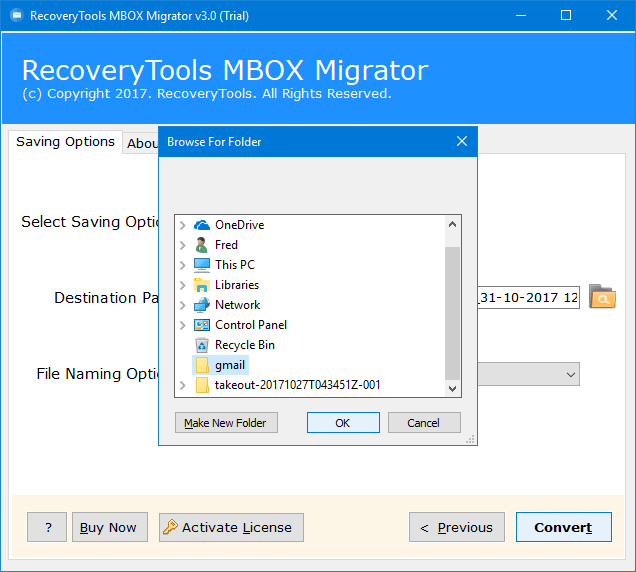
User can save the Windows Live Mail files at his required location. The tool also provide option to create a New Folder directly.
After successful conversion, the tool will directly browse you the destination location where all the resultant EML files are stored.
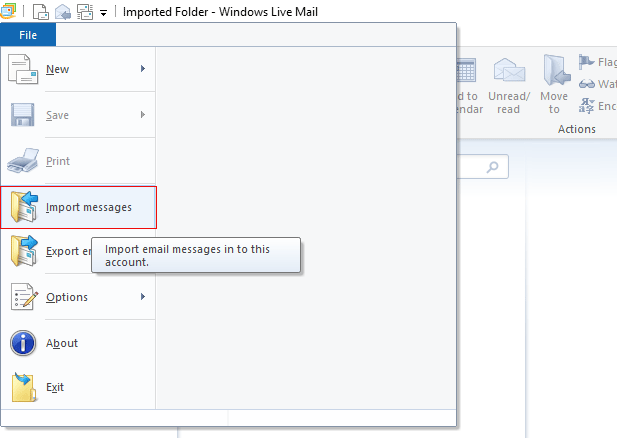
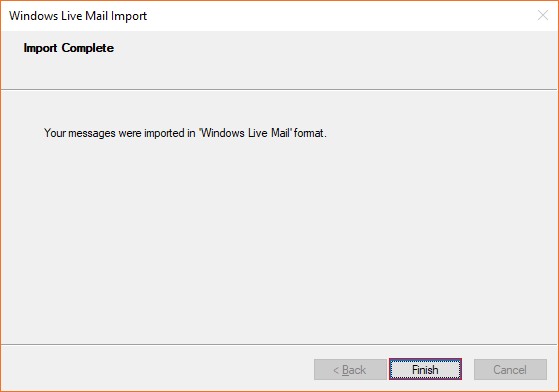
Now to import resultant EML files into Windows Live Mail, Select Import messages from File menu.
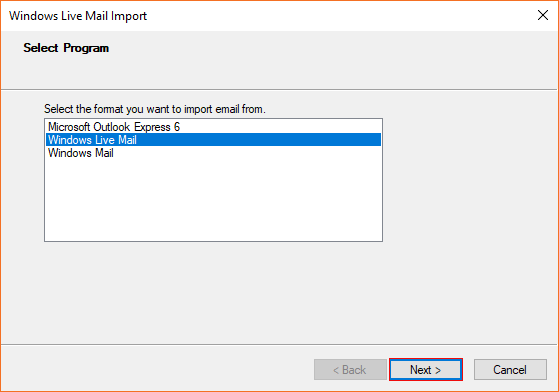
Select program type to import email file with specific format. Choose Windows Live Mail from it.
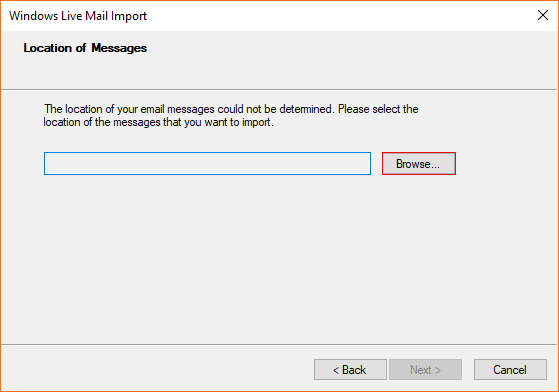
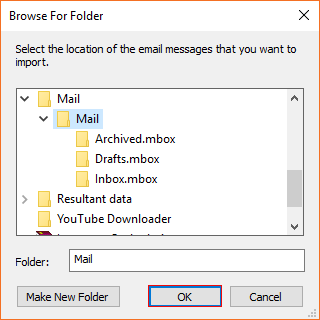
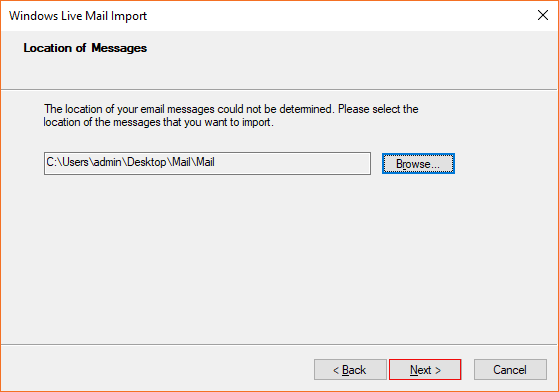
In the next step of Windows Live Mail Import Wizard, choose the location of the resultant EML files. Click on Browse… button.
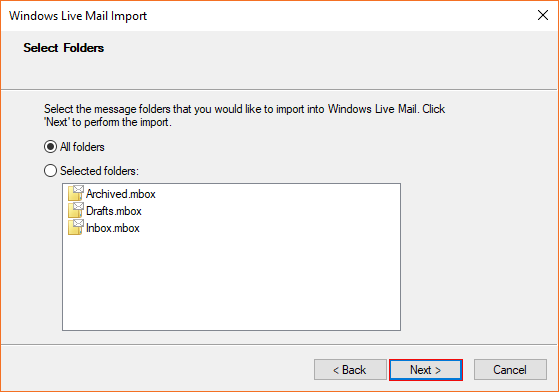
Select the message folder items that you want to import into Windows Live Mail. Click on All folders or Selected folders. Click on button to proceed further.
How to Import Gmail to Another Gmail Account With Labels
One can move Gmail to Gmail with newly created label having emails. Transferring Gmail to Gmail is not quite easy. User faces crucial challenge while try to perform it manually. Hence to ease the users to import folders from Gmail to Gmail with maintain the actual hierarchy. To move selected emails from one Gmail account to another Gmail account one need to follow the 2-Step procedure.
- Download Emails from Gmail and Convert the Mail folder to PST format.
- Import Outlook PST file into Gmail using Google Apps Migration for Microsoft Outlook (GAMMO Tool).
Both the procedures are not easier to perform hence here we will discuss the easiest option to perform the task.
Run the MBOX Migrator Tool & read the instructions to perform Gmail to Another Gmail Account migration.


Choose the PST format from the Select Saving options. One can also create separate file for each Gmail mailbox file. The utility also provides the option to save resultant PST file at user desired location.

Select the location to save file at required location. Click on Save button to proceed further.


The software will directly browse you to the location of resultant PST file.

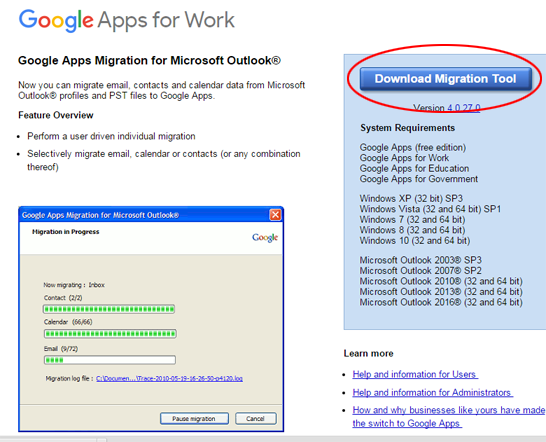
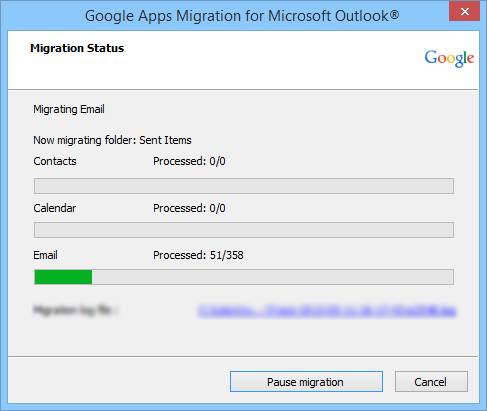
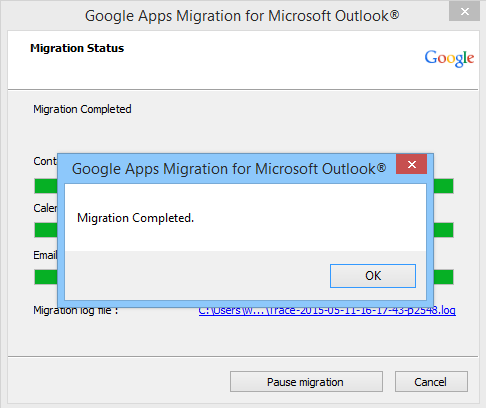
Once you receive Gmail mailbox files as PST format, you can use Google Apps Migration for Microsoft Outlook tool to import PST file into Gmail account. The necessary condition for the working of GAMMO tool is installation of Outlook. Once you import PST file into Outlook one can use GAMMO tool to migrate Outlook data to Gmail, Google Apps or G Suite. Below here know the complete procedure for GAMMO utility.
Download GAMMO tool ( G Suite Migration for Microsoft Outlook ), Install & Run it in your system.
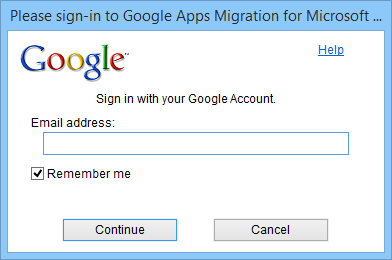
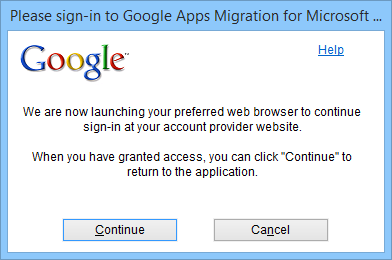
The tool will display the Confirmation to continue Sign In by launching the Browser. Click on Continue to return to the Tool.
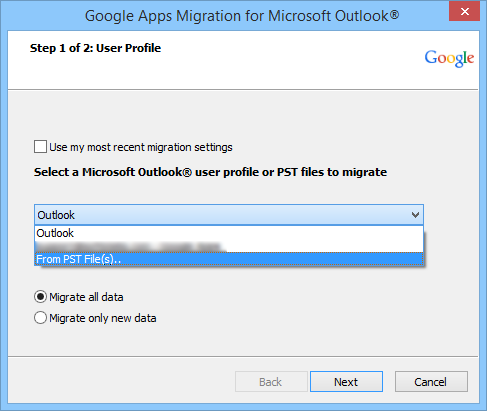
In the Next step Select the From PST File(s).. and select the resultant PST file. Select Migrate All Data option and click on Next button.
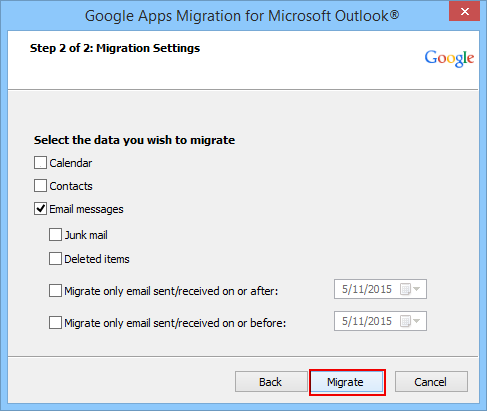
Select the preferred data items you wish to migrate. Choose Email message & click on Migrate button.
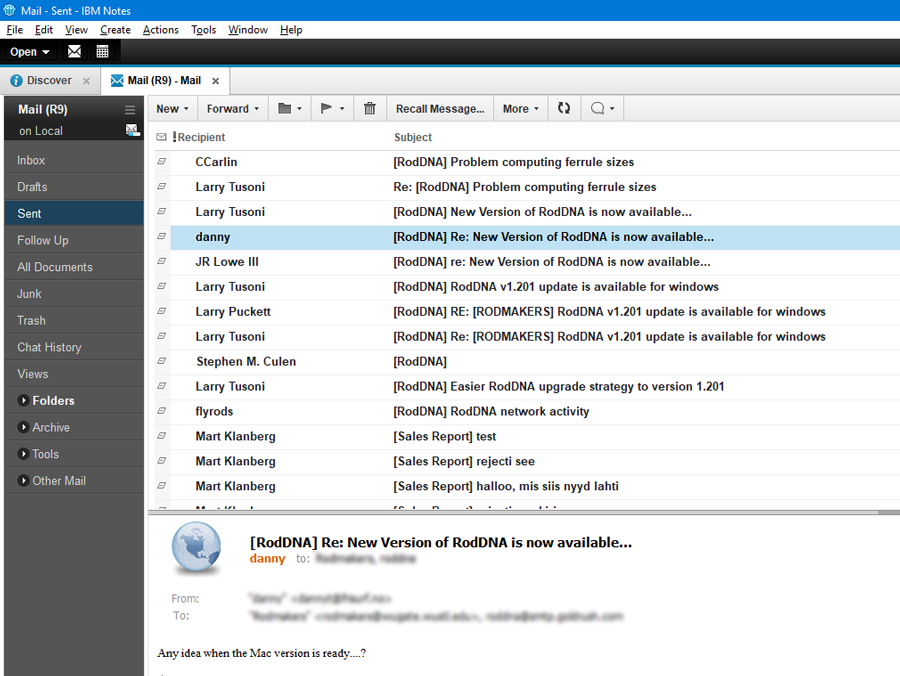
How to Migrate Gmail to Lotus Notes or IBM Notes 9.0, 8.5 ?
To transfer Gmail emails to Lotus Notes one need to convert Gmail mailbox file to Lotus Notes supported file format. NSF file is the default file format to Import items into IBM Notes. Hence, one need to convert Gmail exported MBOX file to NSF file without affecting the integrity of data. To perform this task quickly kindly follow the given easiest steps:
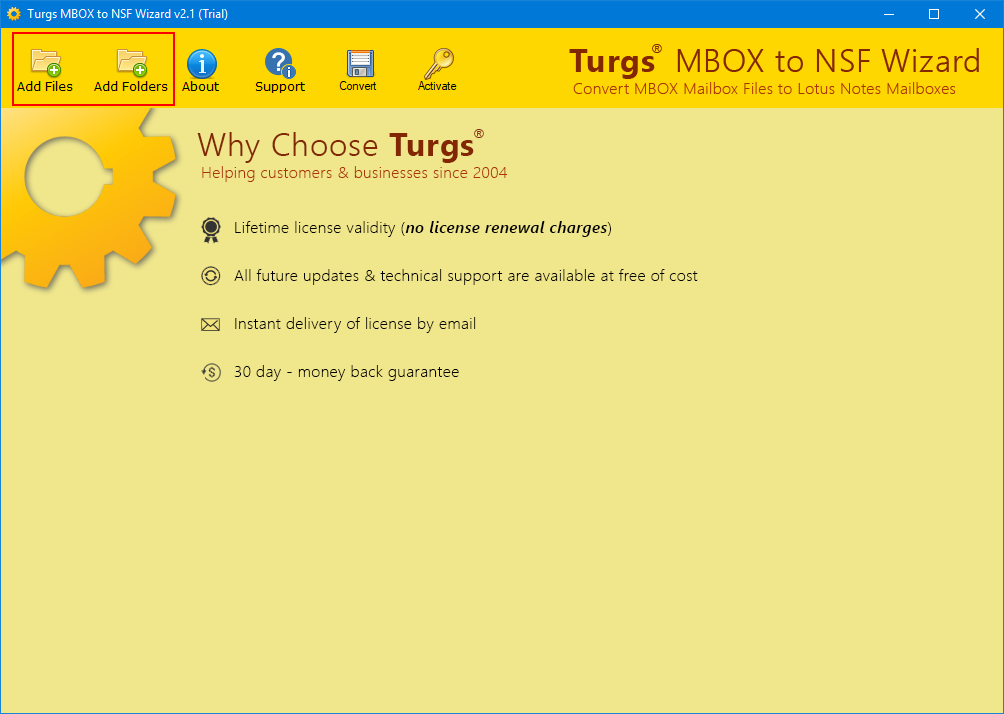
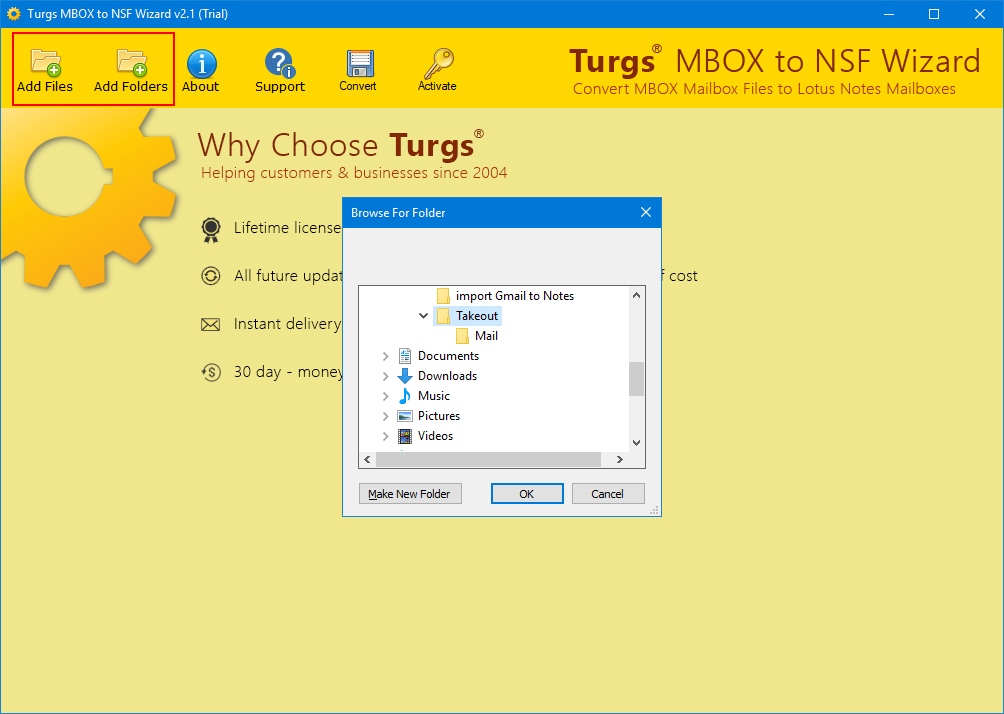
Run Turgs MBOX to NSF Wizard & read all the instruction carefully. Click on Add Files or Add Folders option to load folder containing Gmail mailbox files.
Select the Google Takeout Mail folder by Browse to the source location. Click on OK button to move forward.
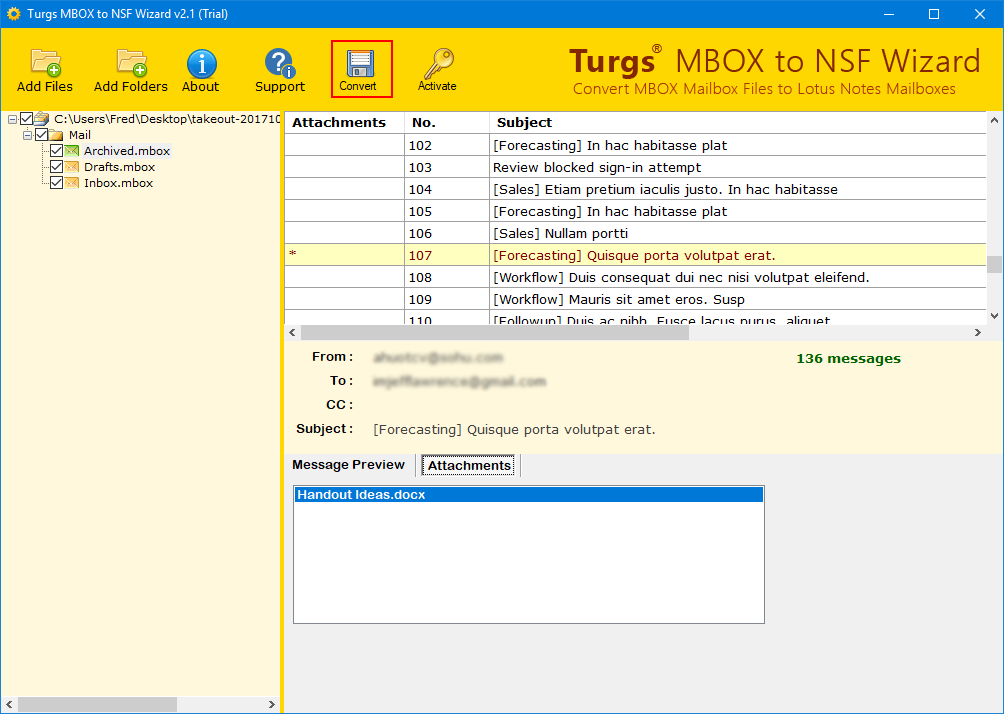
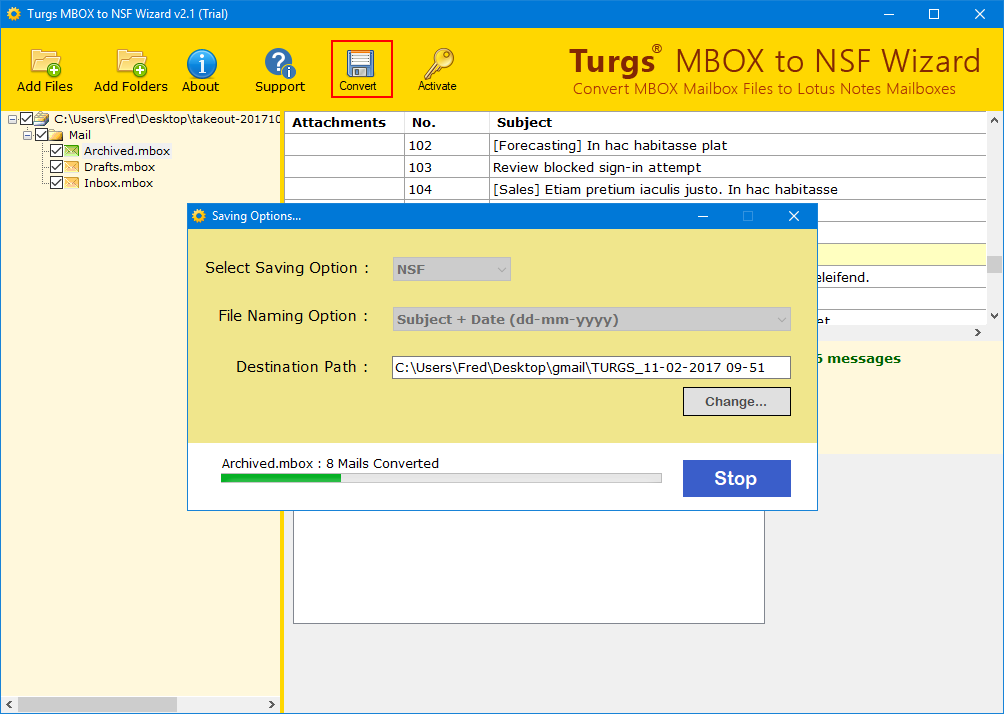
Select all the required mailbox files by enable checkbox. One can also get preview of Gmail emails in the toolkit panel with inserted attachments also. and then click on Convert button to Saving Options list.
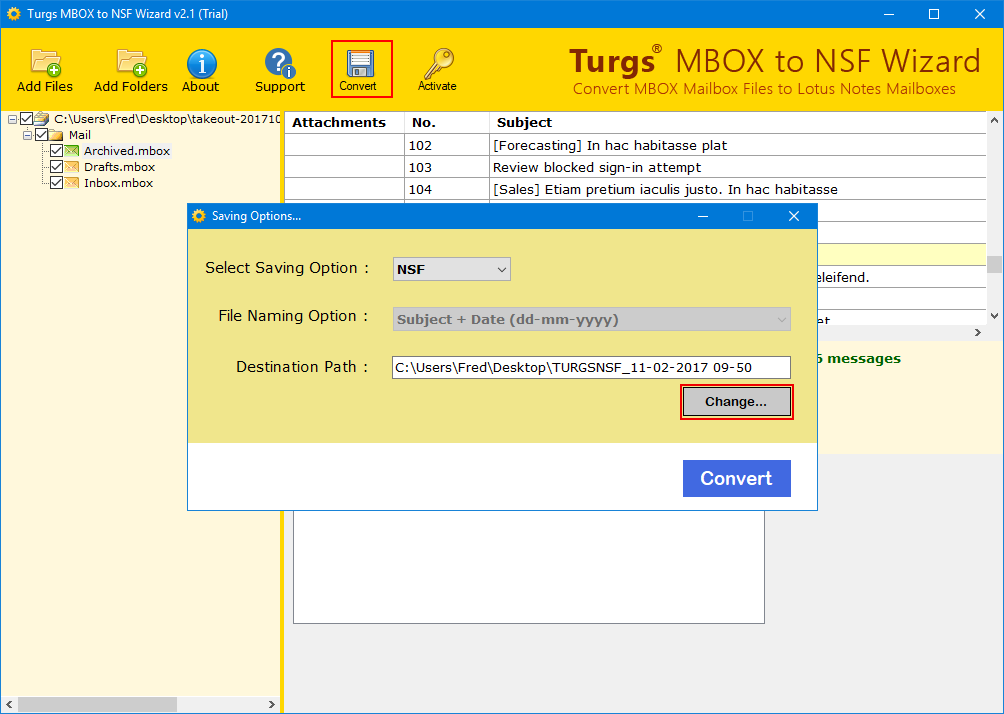
In the next step of Wizard, NSF option is automatically selected in Select Savings Option list. User can also change the default location of Destination path, just click on Change button.
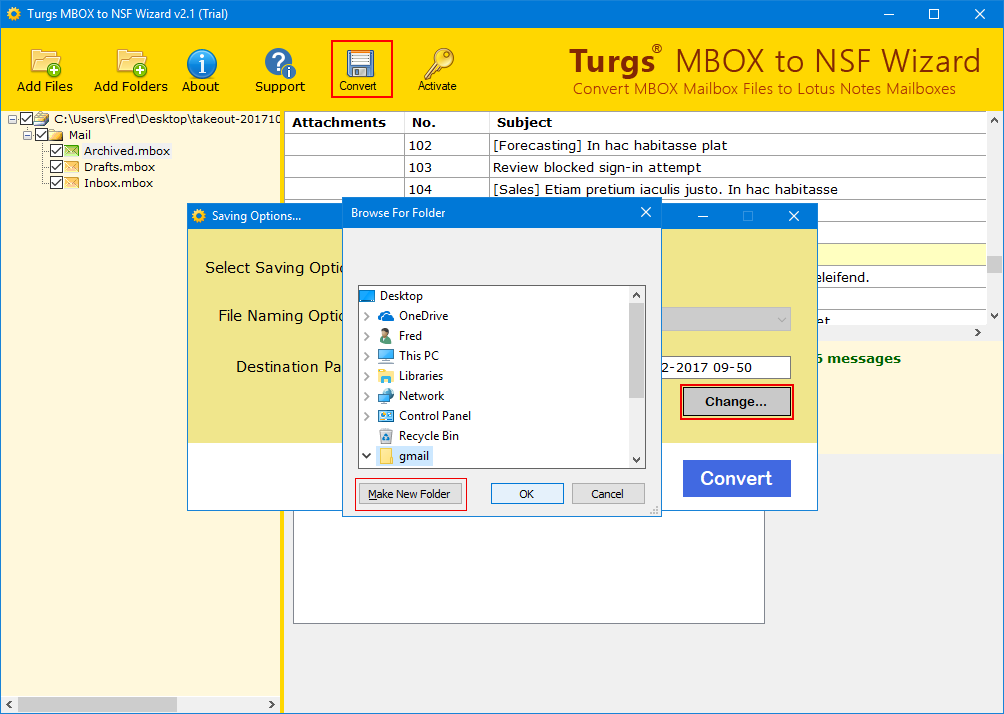
Browse for the new destination location. One can also Make a New Folder directly through the application panel. After you all setup, click on Convert button.
The live conversion process of Gmail MBOX to Lotus Notes NSF file can be analyzed through the application panel.
Once Gmail to NSF file conversion completes successfully, a new conversion confirmation box will pop up, Click on OK button to proceed further.
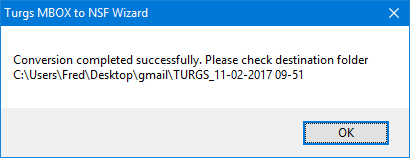
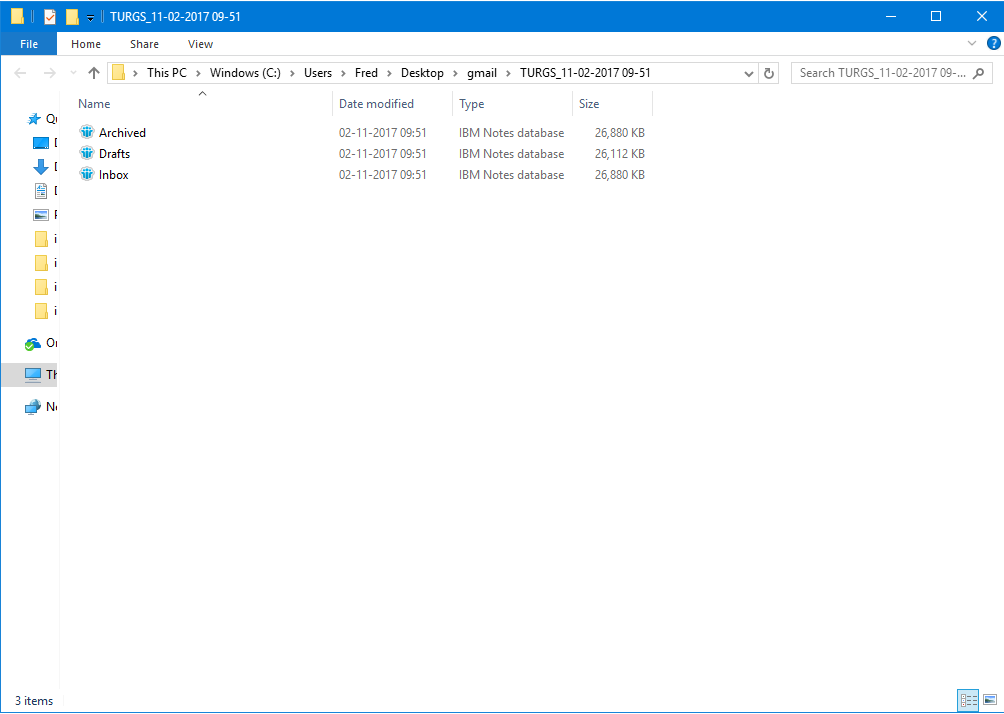
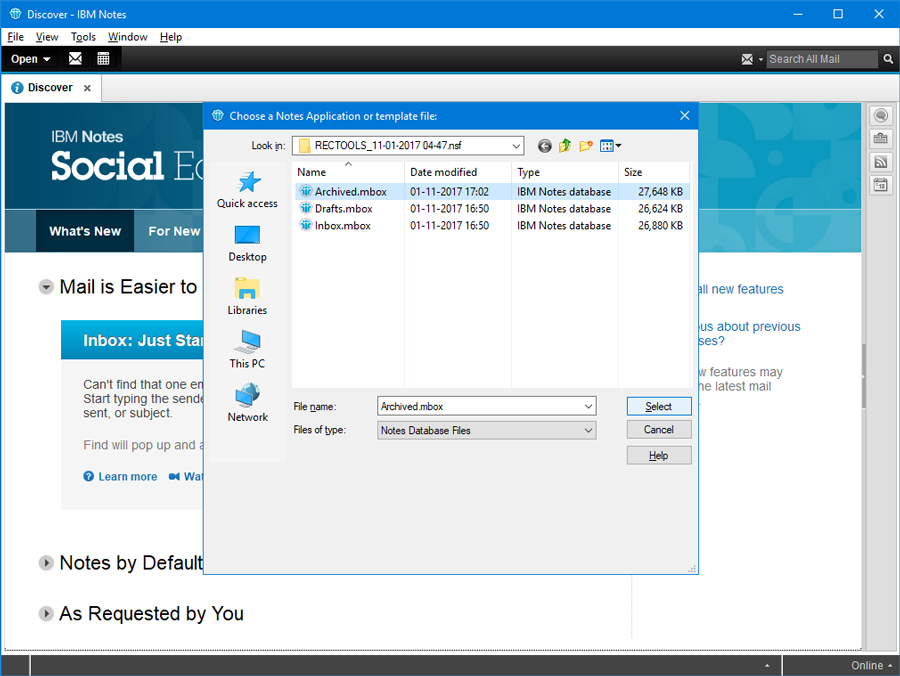
Turgs MBOX to NSF Wizard will directly open the destination location having resultant IBM Notes database files.
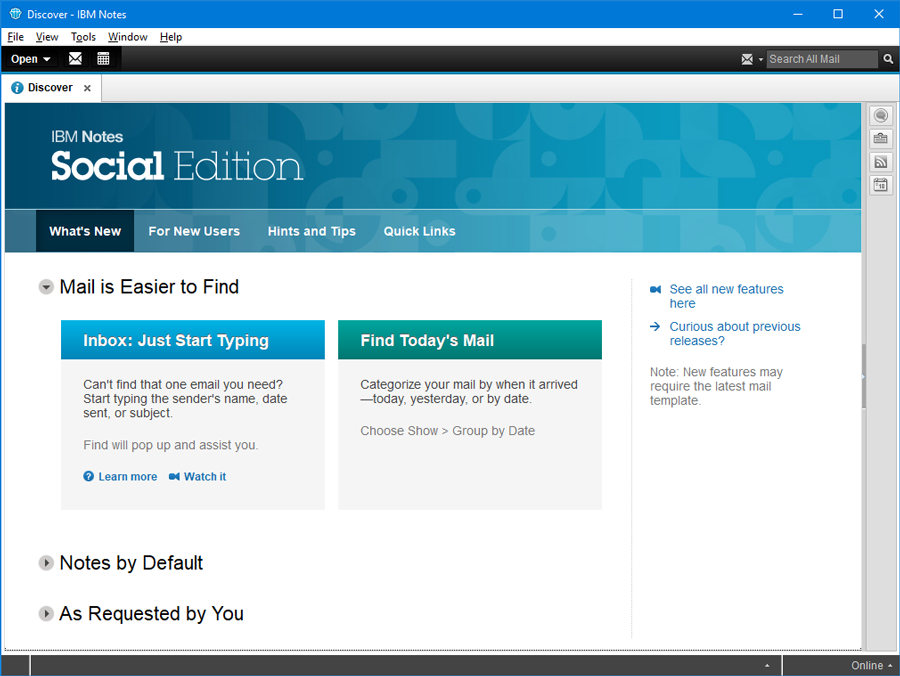
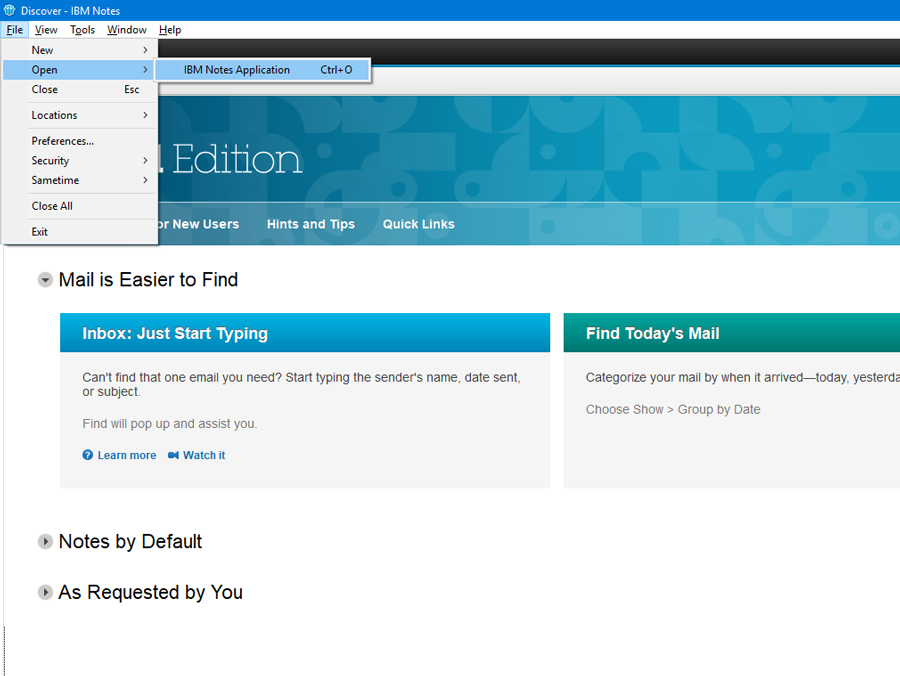
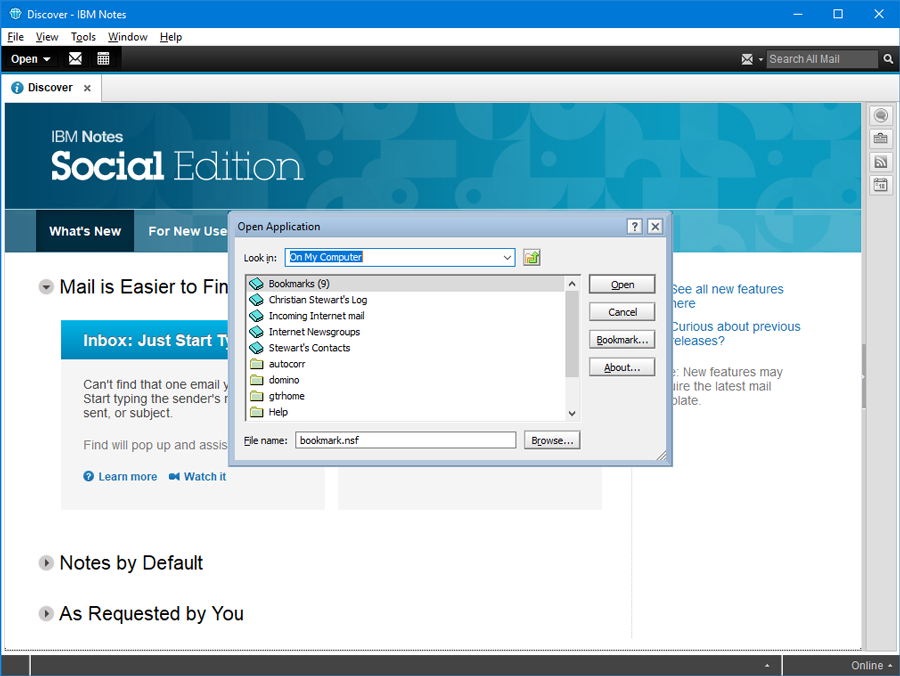
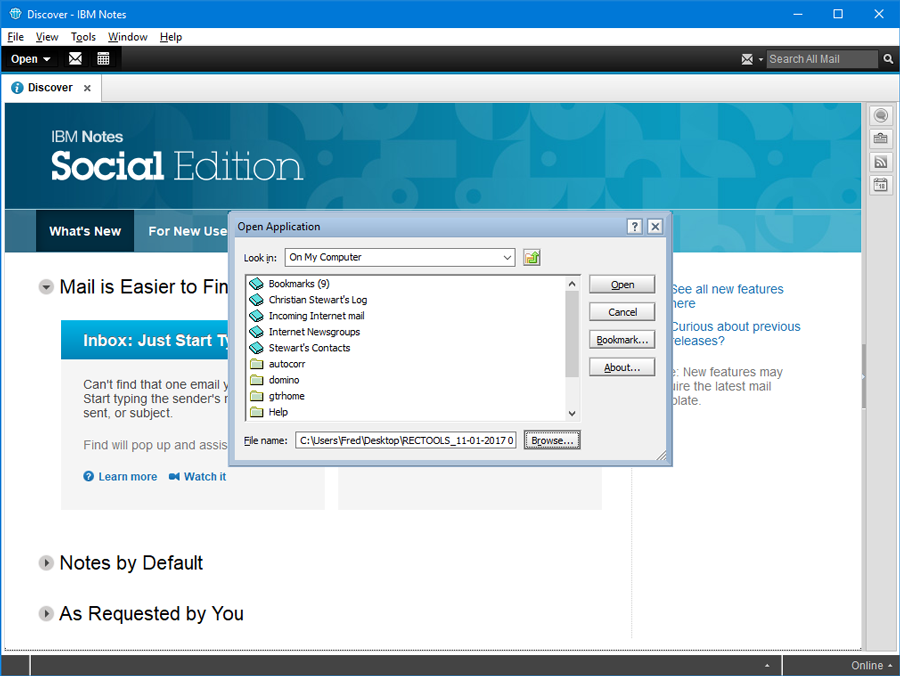
From File menu select the Open option & choose IBM Notes Application or simple press Ctrl + O.
How to Migrate Emails from Gmail to Zimbra Desktop or Webmail?
To perform Migration from Gmail to Zimbra a user needs to convert downloaded archive MBOX file to TGZ file. As the Zimbra allows to migrate only TGZ files hence, one need to export MBOX emails to TGZ file. Read the complete procedure to Import Gmail to Zimbra Desktop, Zimbra Web Client or Zimbra Server in the following easy steps:
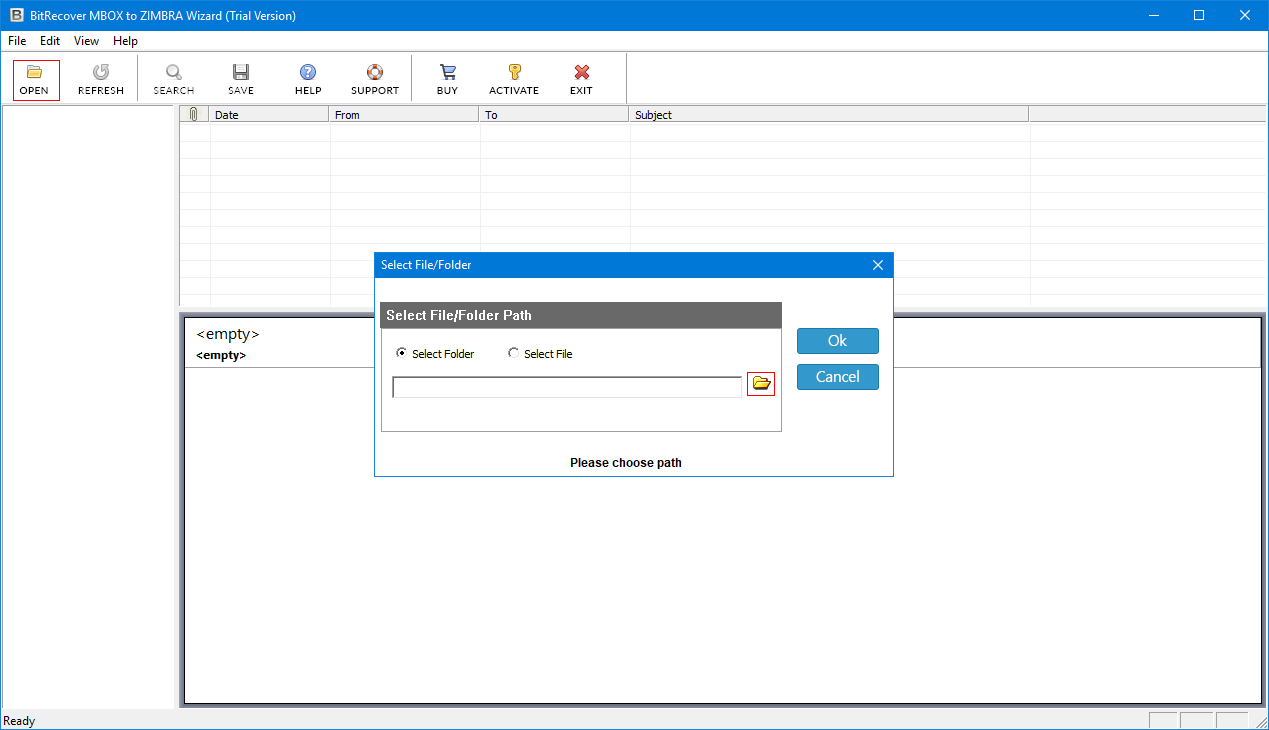
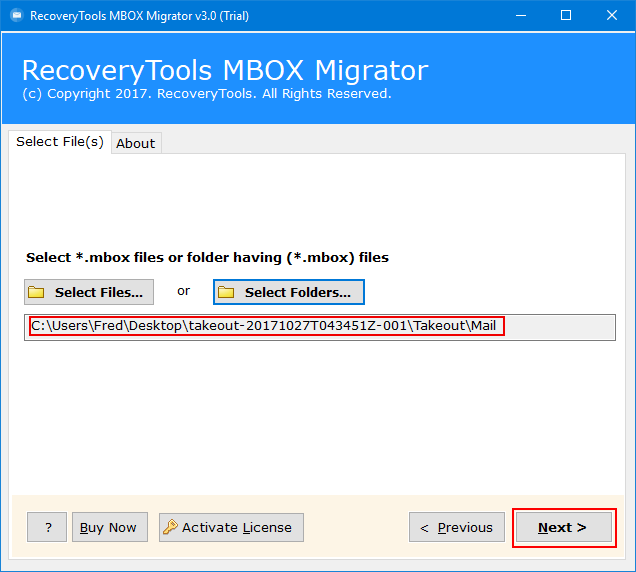
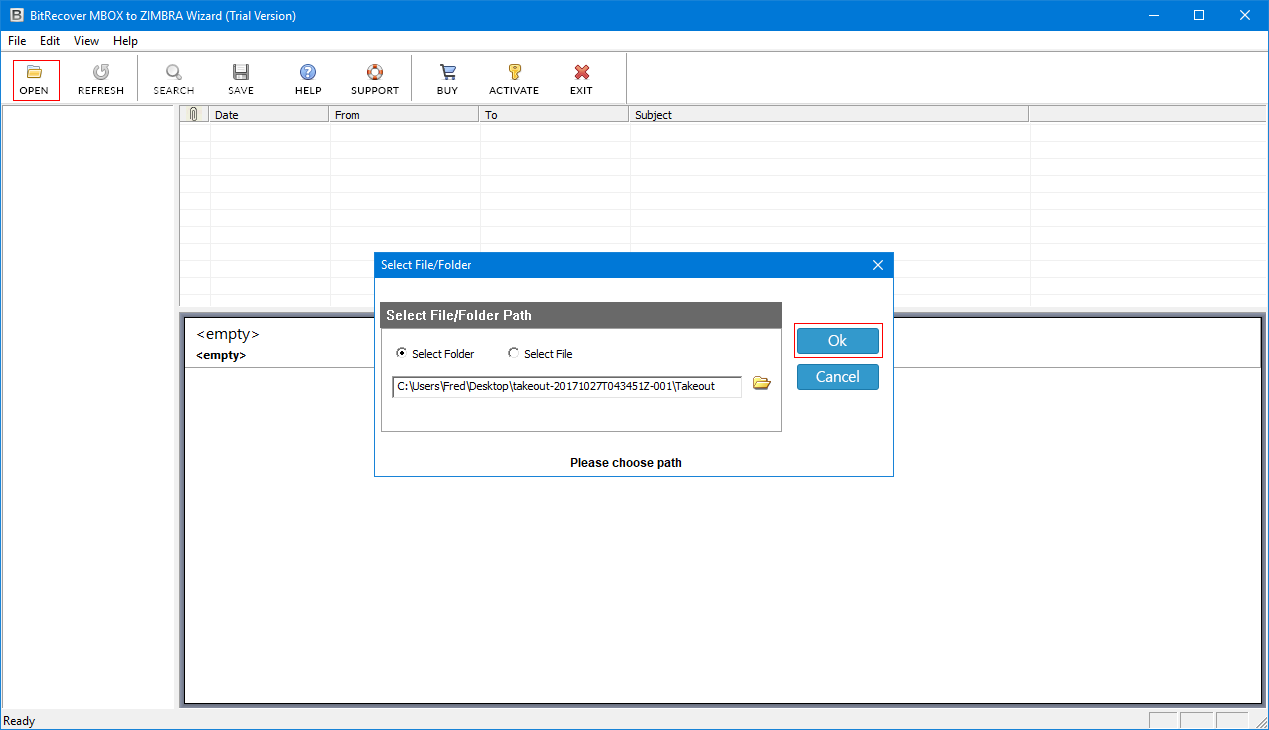
Select the MBOX files separately or whole folder containing Gmail MBOX files. Once you done click on Next button.
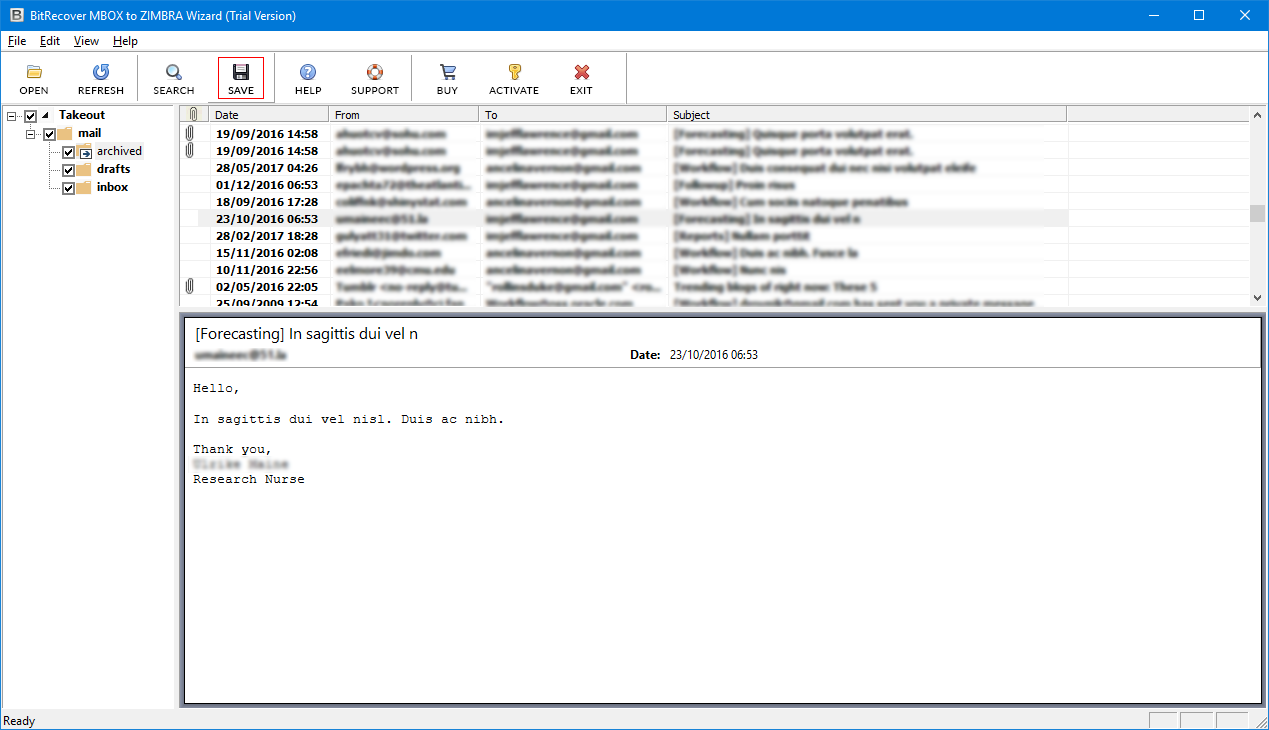
Select required mailbox files for conversion by enable checkbox. One can also preview Gmail emails in the software panel. Click on Save button to move further.
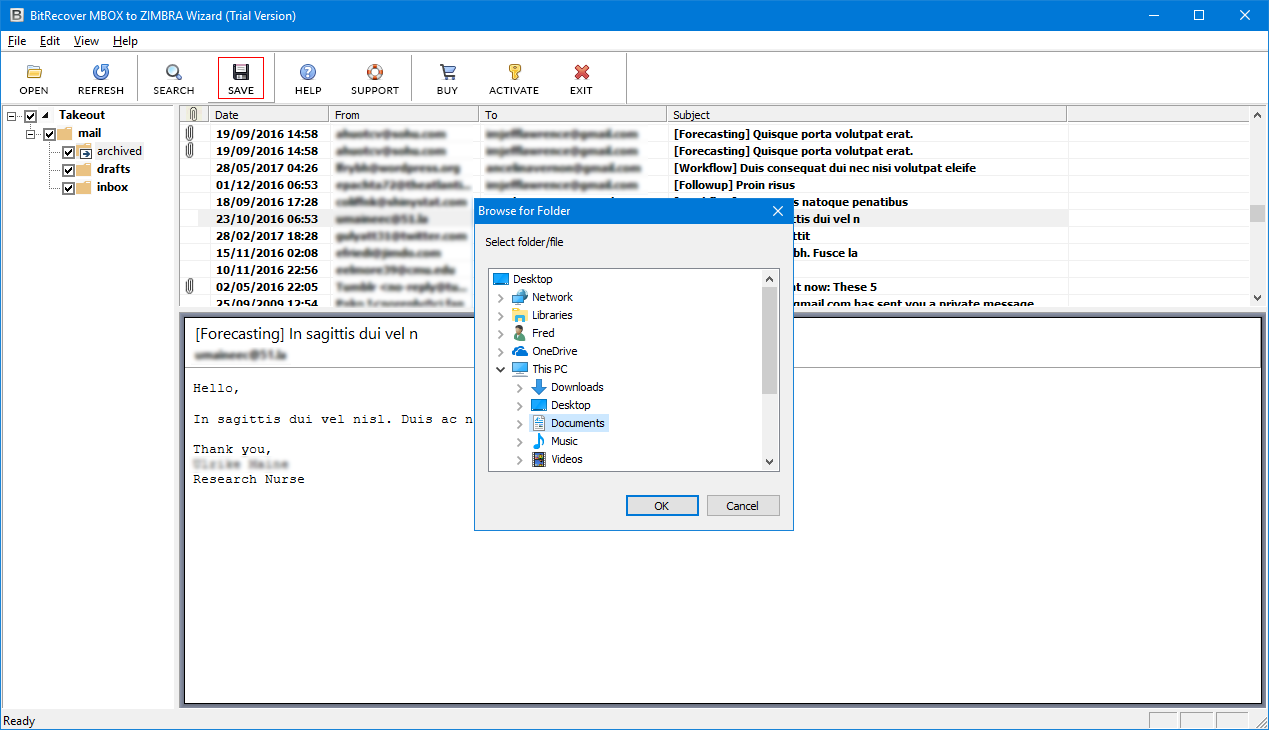
The tool will ask you for the location to save Zimbra TGZ file. Click on OK button to start the conversion.
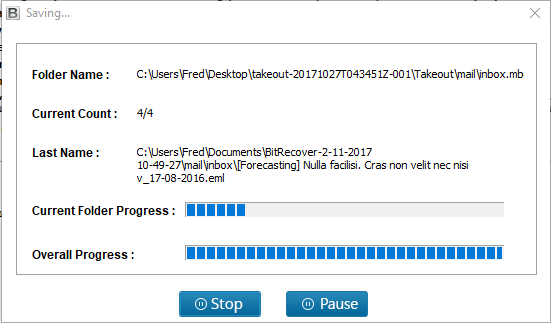
The tool will display the live conversion process of Gmail MBOX to Zimbra TGZ with folder name & number of files successfully converted.
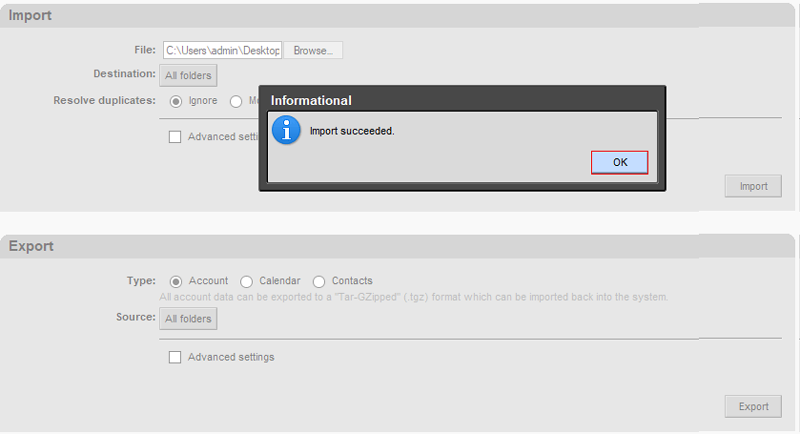
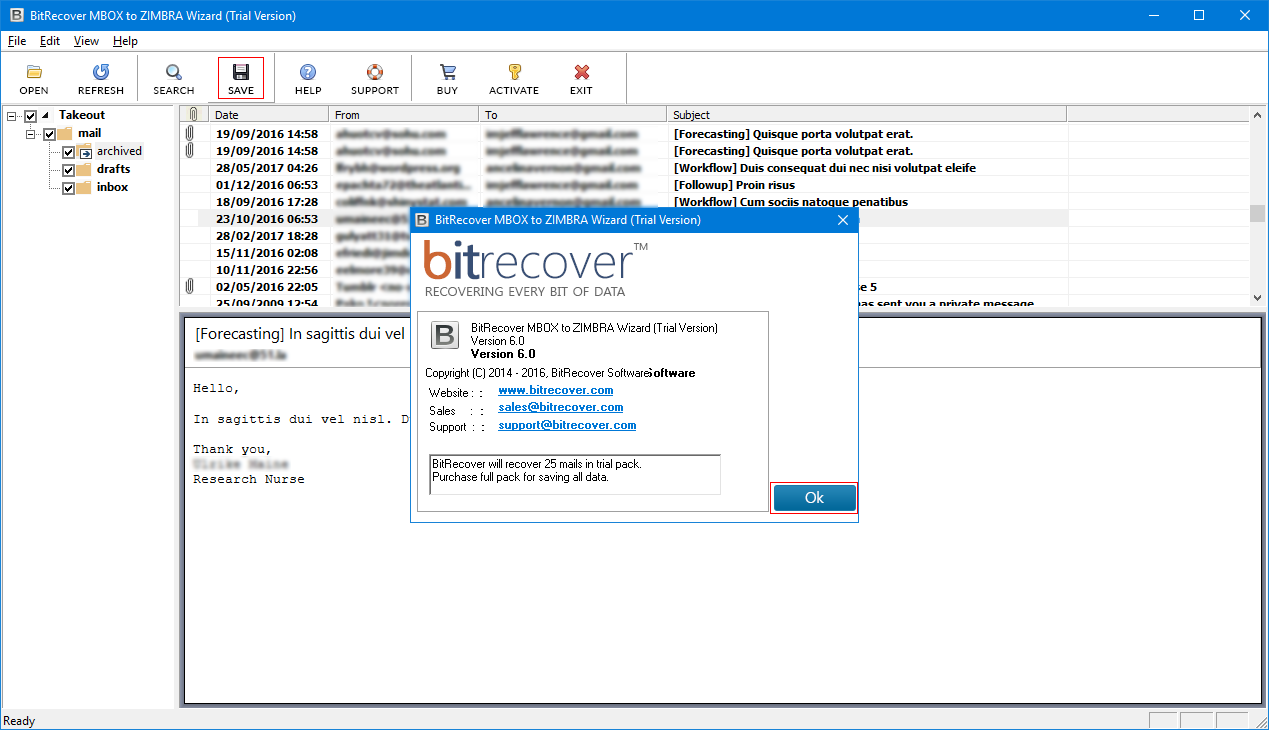
After successful Conversion of MBOX files to Zimbra, a confirmation box will pop out, click on OK button to Continue.
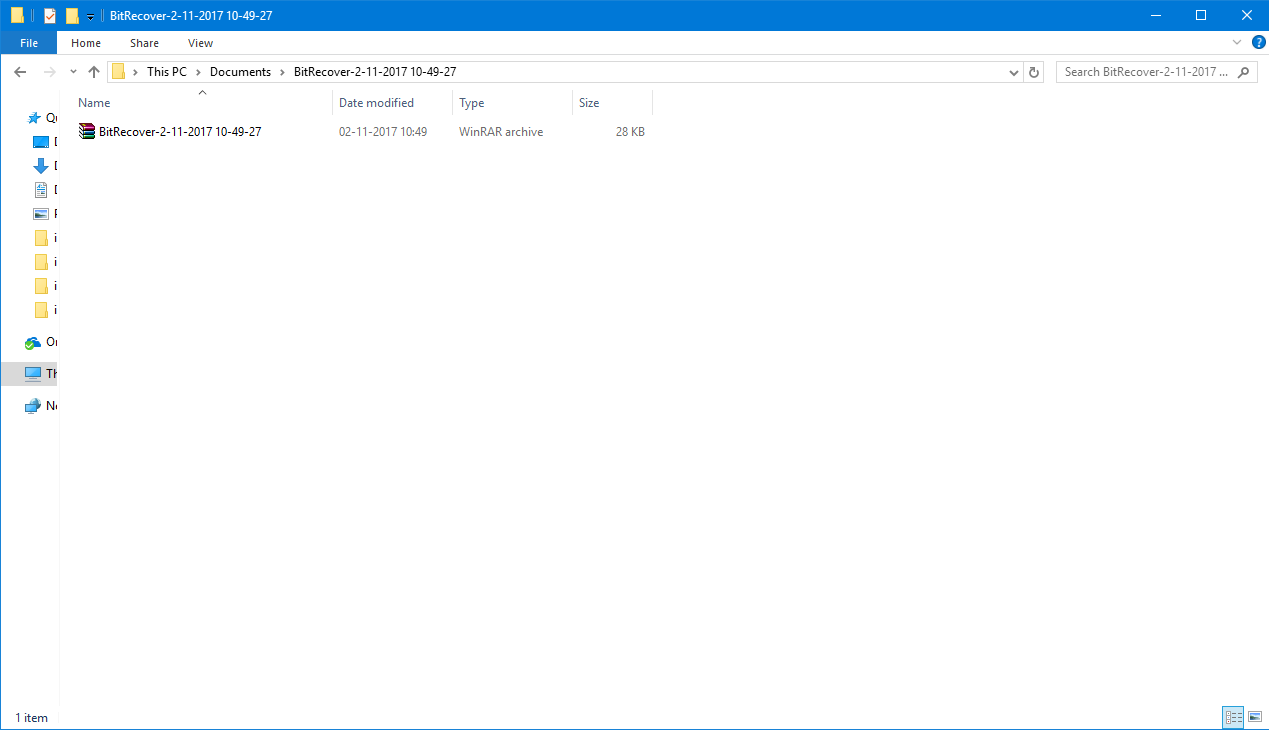
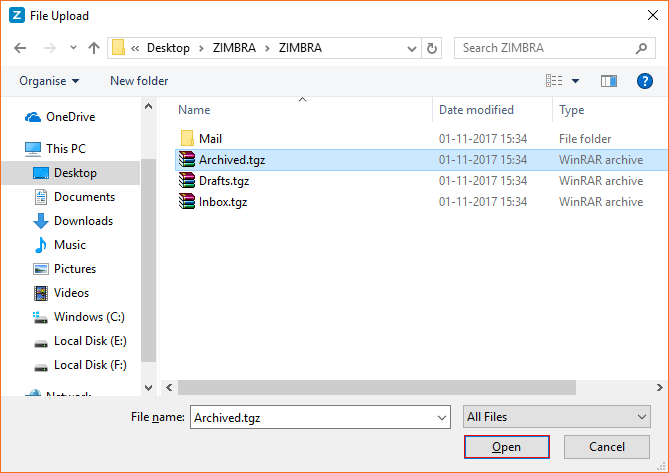
You can access the Zimbra TGZ files by opening the location that you choose to save resultant files.
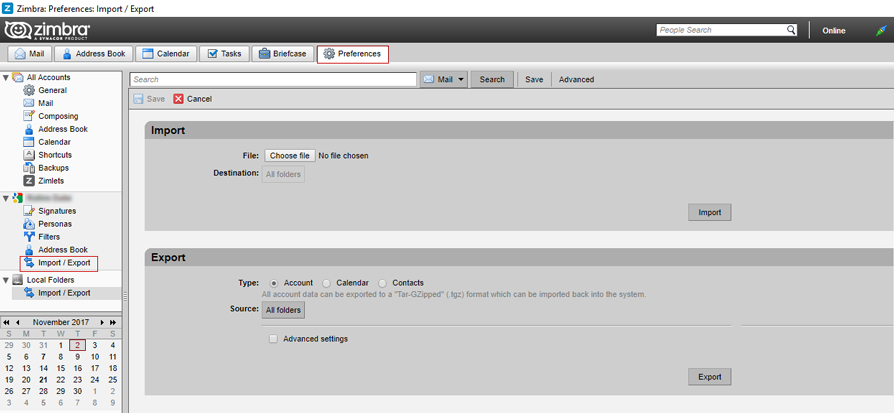
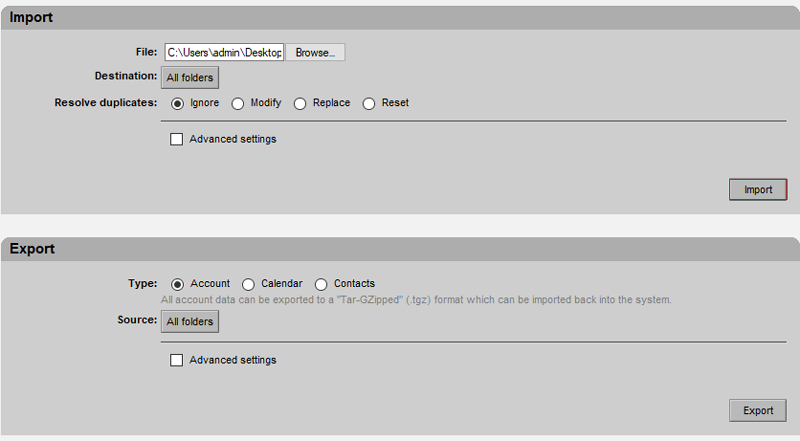
From Import/Export dialog box, Click on Browse option of Import to locate the Zimbra TGZ file.
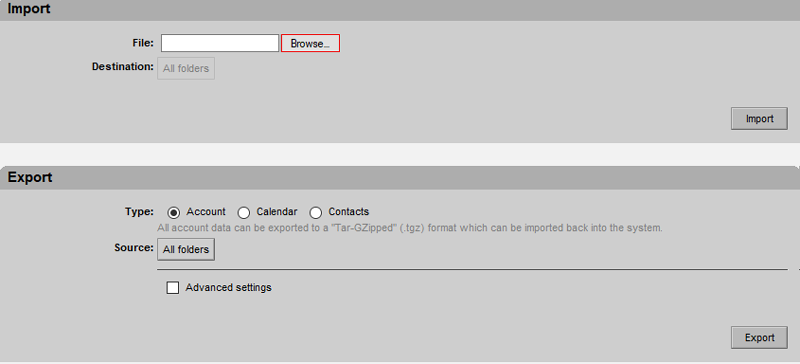
Save the additional settings for duplicate items. Click on Import button to import TGZ file data.